


 towell@sztuowei.com


Get in touch.
Dear,I will reply in 12 hours. All your message are protected!
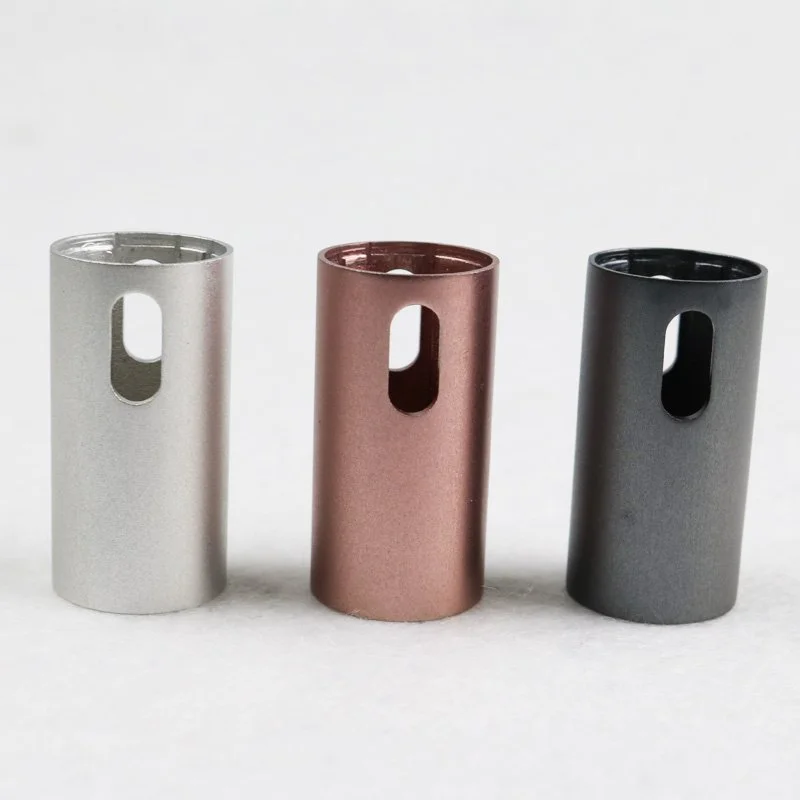
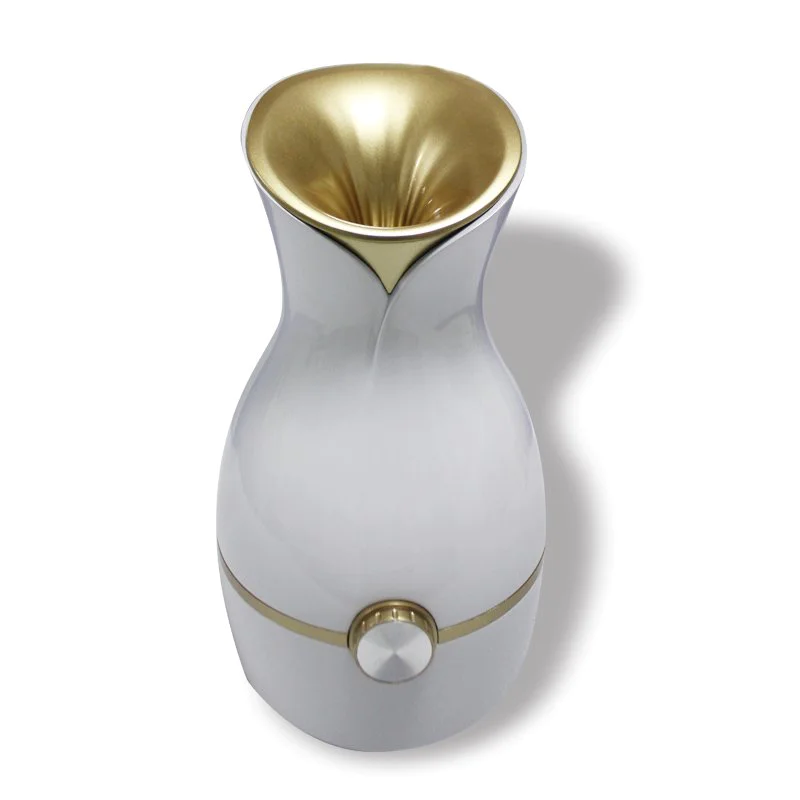
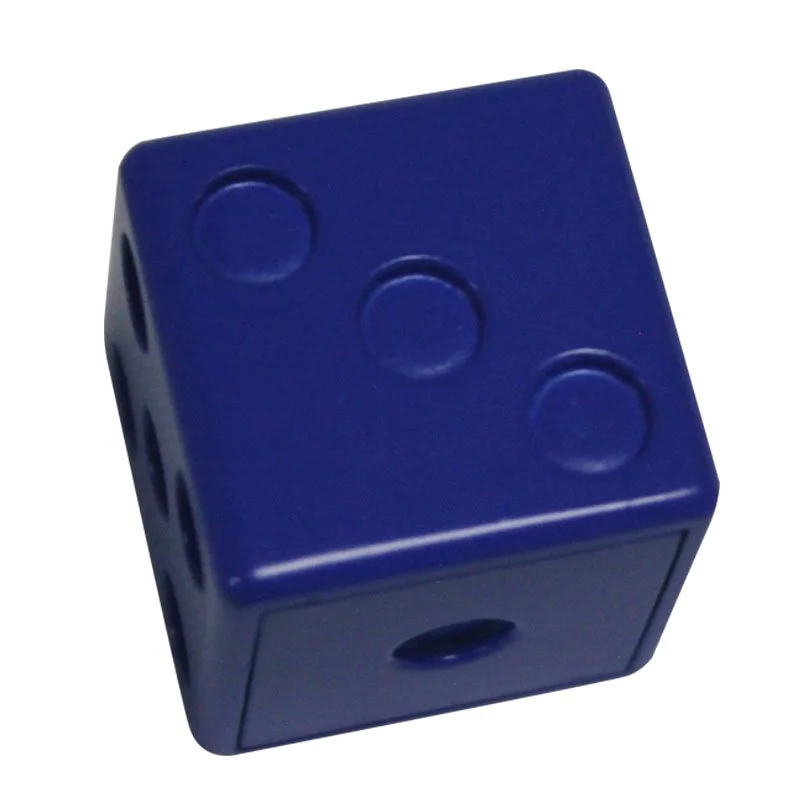
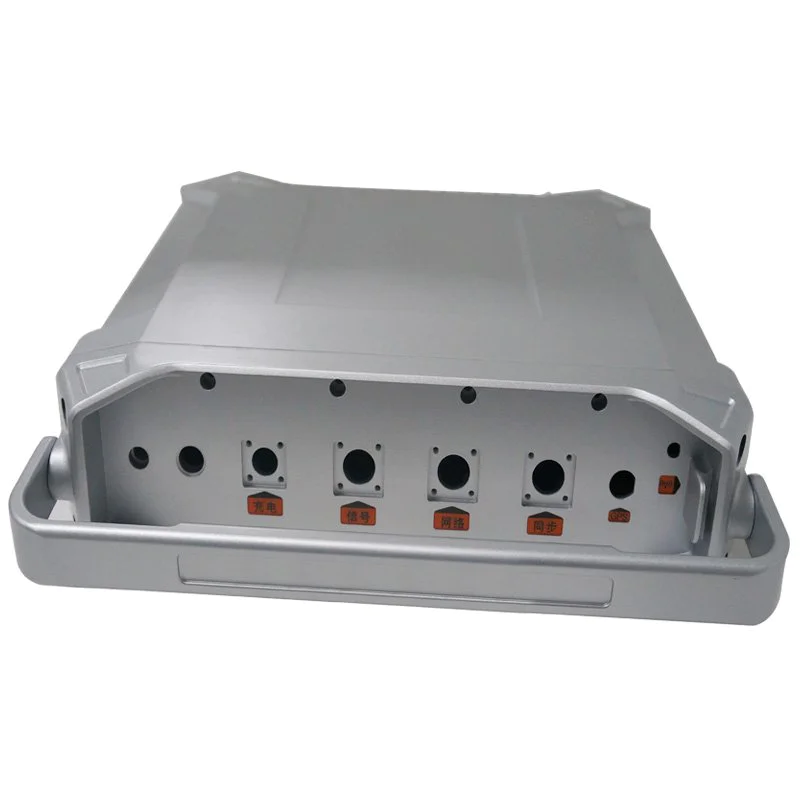
Rapid Prototyping Services, Professional manufacturer of CNC Prototyping and 3D Prototyping in China.
Everyone has heard about the relatively new phenomenon of 3D printing, although surprisingly few people actually use the technology, probably because the price of high-end machines is somewhat provocative.
Personally, I found that the kit printer is the best for beginners, it allows you to learn how 3d printing works and gives you a good chance to modify and improve.
For a fairly large budget, I recommend prusa i3 mk2, who give very good results and have good guidance and support for machines with a lower budget, cloning or cheap machines can produce good printing results, and the price is only a small part of most other machines.
I personally used two machines, one battery box and one idea --
Cr7, but I'm looking at cr7 today.
I bought it at gearbest.
About 170 ideas-cr7.
You can get some money from the code: In this note I will aim to review all the basics of adjusting the printer, dialing in the printer and printing well.
High-end printers tend to come with bed flat sensors, but for kits and reps
Raps usually have to be adjusted manually, which is a bit of a hassle, but most control boards allow additional sensors to be installed.
On the lower side of the heated bed, you should find three or four adjustment screws that should allow the height and bed leveling.
Either push the print head, or tell the print head to move to the corner of the build board, once the print head is lowered to the lowest position, hopefully this will allow enough space for a piece of paper to slide freely between the nozzle and the bed, if not, adjust the screws when testing to see if the paper is appropriate.
Repeat this in all corners, hopefully this will fix the bed missedalignment. (
If not, you have a twisted bed for me and to fix this, check out this forum post: twisted bed)
Most budget machines or other machines * cough * Makerbot * cough * do not come with a heated bed, so in this step we will focus on masking and painter tape.
First lay a tape along the edge of the bed and then apply the second one, I found it better not to overlap the tape, however, in order to align the edges and make them meet cleanly, I did this to mitigate any defects in the bottom layer of my print.
Once you are satisfied with the alignment of the first two lines and carefully place the third, it will most likely cross the edge of the bed, if so, just trim off the extra tape with scissors.
* Note * depending on the size of your bed, you may need more or less tape * note * most machines that are cheap or do not have a heated bed, you will find some tape attached, to allow decent bed adhesion, although the heated bed may require additional help to handle tough filaments like polycarbonate and ABS.
I have tried multiple tapes and all of them have different results and I will record my findings below: Shield tape (
American traditional Chinese painting household tapeS)-
This produces awesome results when printing PLA on a cold bed, although it tends to print only one or two photos.
You can find some here: masking tape (
Amazon Global)Blue Tape -
Very similar to masking tape, although it is used more widely in the 3D printing community, its performance is almost the same as masking tape, although it is easier to obtain in the USS.
You can find here: the tape of the Scottish painter (
Amazon Global)
* Note * You may find this at any local store in the US
S * note * Kapton tape-
Kapton tape is very heat resistant and is only used on a heated bed, although it is properly used at about 180 of the temperature.
It can produce a good ABS fingerprint.
You can find it here: Kapton tapeMost cheap machine or some other machine * cough * makerbot * cough * not equipped with a heated bed, so in this step we will focus on the slicer you need, this will convert your grid file (3D model)into Gcode (
Instructions sent to the printer)
There are many slicer, some are good for a particular machine, some are not.
Cura is one of the best slicer for beginners and professionals, and Cura is a free software made by Ultimaker.
I will focus on Cura in this structure because I think it is best for those new technologies.
You can download Cura here: Cura-
We need to set up your machine before we go ahead and print something.
The first time you start Cura, you will face the 'new machine dialog' shown in Figure 1 '.
Press the printer, then if your machine is not in the list, you should find yourself looking at the list of printers, press the printer again, and then you should see the second list of printers, this time we are going to select the VPs this is a good profile and we can adapt to the work of most delegates
RapsAgain, press rap, and then press submit, the entire workspace will load, but since we haven't entered the printer parameters yet, click submit, and then select submit, a dialog box will pop up, allows you to enter machine printing parameters.
Enter the printer's build volume in the text box: the printer's build volume will be in the printer's specification list.
Cura is a very powerful slicer that allows you to adjust almost everything about your machine and print profiles, and it's probably a good thing to have a beginner tag. To load a .
Stl file, press the LOAD button after loading, the model should appear on the build platform.
After loading the model, we need to set the print temperature and resolution, you can change the left-
Dialogue panel.
PLA is a good printing material that is easy to attach and provides good results.
Depending on your PLA brand, the best printing temperature may vary, and the best printing temperature is usually on the website where you buy the reel from the reel or print it on the reel.
About 190 if you can't determine the temperature.
C should be good.
Enter the print temperature in this box: now we can set the print speed and layer resolution: for most reps
Raps 50 mm/s is probably the best speed.
Resolution is very important, it determines how good your print looks and how long it will take for your print. 0.
The 1mm layer height is about the highest resolution you really want to print, and it takes a long time to print at this resolution. 0.
2mm is better for prototyping and quick printing.
This is the first time we have all the software settings we need to print, so now you need to put it on the printer. . .
What should we do?
Press the save toolpath button to select your micro
Put the SD card.
Gcode file above.
When printing on a cold bed, basically some kind of glue has to be added, the glue stick works well and is very cheap and will last your age.
I am not entirely sure what they are called in other countries, although searching for 'glue' in any English speaking country should work. U. S (Elmer's)UK (Pritt Stick )Worldwide (UHU )
We have set up our machine physically and software and now we just need to tell the printer to start.
Start the machine, open the control menu: then press the 'print from SD card' button: Select Gcode and watch the magic happen!
Keep an eye on how the first layer is going down, and it should be safe to let it down if everything looks normal.
Surprisingly, removing objects from a printer can actually be one of the hardest parts.
One of the best tools to do this is the paint scraper, which is cheap, effective and easy to use.
* WARNING * be very careful when using this tool!
* WARNING * You may be able to get one at your local DIY store, and if you don't have this, you can find it here: paint scraping 3d printing is certainly not a completely polished process, for most, finishing is required in order to get a good print surface finish.
In addition to coating the print in the filler, the easiest way to clean the print is to trim and polish the cut and layer distortion, which can be done with a pair of sides
Or just some sandpaper.
Print out Pre
The models made are all good, but compared to the endless possibilities you face when you learn to design your own stuff!
123D design is a great software that is very easy to use and can produce good results.
Fusion 360 is a more advanced software that is perfect for more advanced users.
There is no doubt that no matter what program you use, you will get amazing results, and the rest to say is: good luck! ! ! (
Thanks for reading)
© 2005-2025 Shenzhen Tuowei Model Technologies Co., Ltd. | All Rights Reserved 粤ICP备11096697号

