Get in touch.
Dear,I will reply in 12 hours. All your message are protected!
Rapid Prototyping Services, Professional manufacturer of CNC Prototyping and 3D Prototyping in China.
CNC machining has revolutionized the manufacturing industry, enabling precise and efficient production of various parts and surfaces. One common application is machining patterned surfaces, which require careful planning and execution. In this article, we will explore the essential steps and considerations to successfully CNC machine a patterned surface.

Step 1: Design and CAD Modeling:
Before starting the machining process, it is crucial to have a well-defined design and a 3D CAD model of the patterned surface. This allows for accurate visualization and ensures that the desired pattern is translated effectively during the machining process.
Step 2: Material Selection:
Choose the appropriate material for your patterned surface, considering factors such as strength, durability, and compatibility with CNC machining. Common materials include metals like aluminum and stainless steel, as well as plastics such as acrylic and nylon.
Step 3: Toolpath Generation:
Using CAM (Computer-Aided Manufacturing) software, generate toolpaths that will guide the CNC machine in machining the patterned surface. Consider the type of tooling required, such as end mills or ball nose cutters, and optimize the toolpaths for efficient material removal and surface finish.
Step 4: Machine Setup:
Prepare the CNC machine by securing the chosen material and installing the necessary tooling. Ensure proper alignment and calibration to achieve accurate machining results. Additionally, set the appropriate cutting parameters, such as spindle speed and feed rate, based on the material and tooling being used.
Step 5: Machining Process:
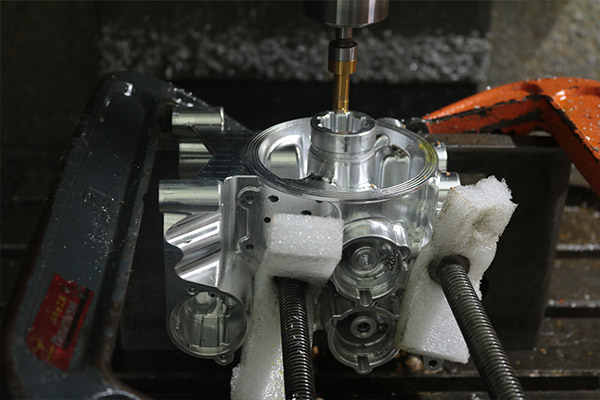
Start the CNC machine and carefully monitor the machining process. The machine will follow the programmed toolpaths, removing excess material and creating the desired pattern on the surface. Maintain a safe and controlled environment during the process, following all recommended safety guidelines.
Step 6: Finishing and Quality Check:
Once the machining is complete, inspect the patterned surface for any imperfections or deviations from the design. Perform any necessary post-machining processes, such as deburring or sanding, to achieve the desired surface finish. Ensure that the pattern is accurately replicated and meets the required specifications.
Conclusion:
CNC machining of patterned surfaces can be a complex but rewarding process. By following the steps outlined in this guide, you can successfully create intricate patterns on various materials with precision and efficiency. Remember to prioritize safety, proper planning, and attention to detail to achieve optimal results.
© 2005-2025 Shenzhen Tuowei Model Technologies Co., Ltd. | All Rights Reserved 粤ICP备11096697号