towell@sztuowei.com


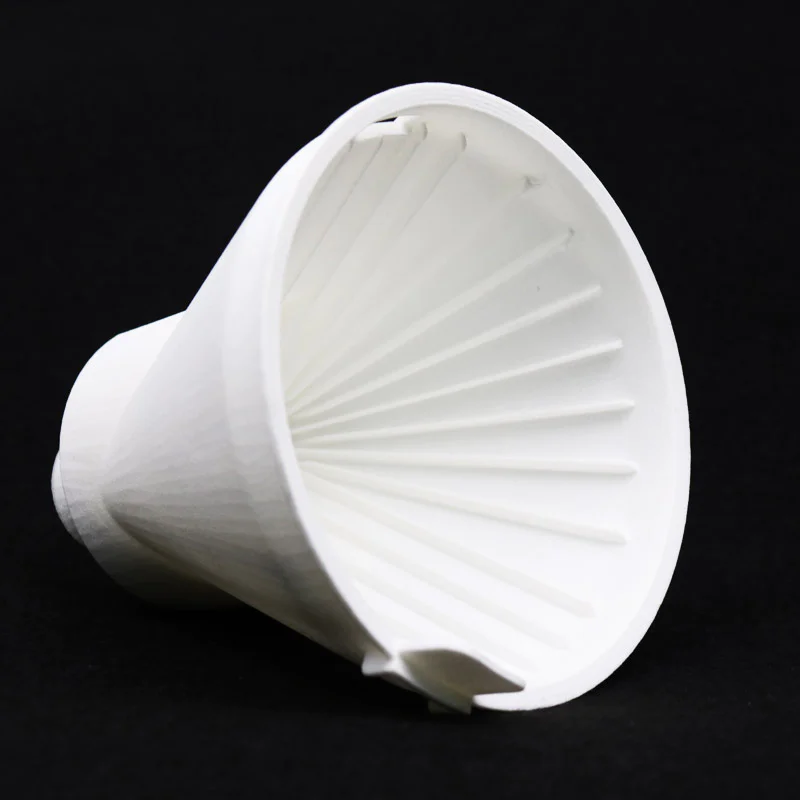
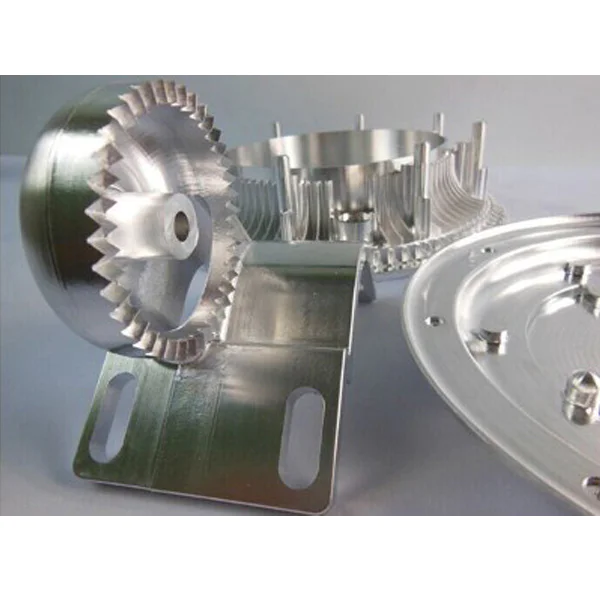
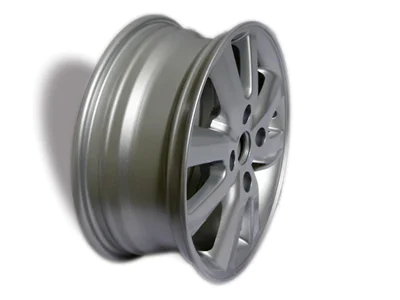
Rapid Manufacturing Services that Facilitate Car Manufacturing: SLA & Metal Printing
focus, an experimental powder printing platform
by:Tuowei
2019-09-05
With the cutting of wooden parts and the printing of 3D printed parts, it is time to assemble the machine.
It\'s not super simple to design as a build kit, but it\'s not hard to build.
As I said, I don\'t have a step-by-step image of how to build this.
First of all, I can fill the whole structure with it.
Secondly, I didn\'t take any pictures when I built it, sorry.
What I did, however, was to make a detailed schematic of how to focus.
Just assemble all the parts according to the drawing.
Precautions for all parts: Use the gasket as much as possible and follow the direction of the bolt as much as possible.
Don\'t tighten the LM8UU bearing card too tightly. Keep them loos(ish)
Until the final assembly, then tighten them until they are no longer given.
Don\'t hold them too tight, because it will bring a lot of unwanted resistance to the shaft.
Do not tighten any smooth rod or M8 threaded rod before placing the gantry on the frame.
The exact length of all the rods depends on where you put the slots.
Once you put the gantry on the frame, you can adjust all the length and tighten everything.
The first part of the Assembly car to be assembled is the car.
There are holes to connect on the tool, but there are no special parts to connect the tool.
The holes were designed around a allowed laser holder, but I stopped using them in a few days.
I am using some drilled aluminum profiles now to connect my laser diode case. (
You can find this mountain here. Assembling Y-axis The Y-
The axis has a part to pay attention.
The smooth rod is clamped by the X-Drive guide.
The holes on the driver\'s guide are likely to be printed too small.
In order to make these holes to a certain size, first install the screws and clamp the rod without bending the fixture.
Then drill carefully with the M8 bit and archive the holes until the smooth rod fits without clogging.
Must be in Y-
All parts Open the previous axis.
Most of the components that assemble the depositor\'s depositors are mounted on the M4 rebar.
Since these parts need to be tightened from both sides, self-locking nuts cannot be used.
A pair of common nuts were used to solve this problem.
By tightening them against each other, they can then be fixed at any time without clamping the parts.
There are several widgets on the depositor that need to be moved freely.
All of these parts are attached to the aluminum tape that is actually deposited.
It needs to be able to rotate and lift the aluminum profile slightly in order to have some gaps on the newly deposited layer. Assembling X-
Connect the motor and bearing to the previous shaft on the X
Shaft, add a light slide bar of 8mm to place all bolts.
After connecting the motor and the bearing, there is almost no space for the bolts to be placed.
After placing the gantry on the frame, you can clamp the M8 rod.
The piston part is made of a medium fiber plate.
Screw holes for all printed parts are easy to find.
Measure the center, place the parts, pre-drill, and connect the parts to the wood using small screws.
There are some extra drawings and renders for the screw holder.
I had a lathe myself when I built focus, so I used it.
I designed a printable part that works the same.
No flags are needed at this point.
All piston positioning is still done manually.
The Assembly piston bracket holds the adjustable nut bracket used by the piston to move.
Assemble all printed parts first.
When you install the M6 threaded rod in the slot of the Hopper, you can add it.
Clip the wall of the Hopper to both sides.
When you clamp only the outside of the Hopper, it may bend inward and plug the piston.
End stop racks with springs are not required yet, as the printers cannot use these end stop racks.
For the sake of security, you can skip adding these sections.
Next you need to install the timing belt. For the X-
Shaft, clip the belt in the middle with a belt clip.
Then connect the two ends together with a tie belt and stretch the belt. The Y-
The shaft needs to be connected to the carrier at both ends.
I cut my belt in half and connect it with a tie tear so I can stretch them, but you can also stretch the belt on the carrier.
Put the gantry on the shaft. Connect the complete gantry to the frame with four M8 bolts.
These are installed through the slot at the top.
At this point, you need to adjust the gantry so that it is parallel to the building box.
After that, adjustments need to be made to the depositor so that it is rarely in contact with the Hopper.
Marking the end sign to be installed when assembling Y-Axis.
I also attached a photo of my flag.
You can use any hard and flexible material, but iron or aluminum is the best option.
Magnet Maglock in maglock keeps the depositor in place when not in use.
This is a fairly simple system that uses magnets to hold the depositor on The X drive.
When the depositor is close enough, the magnet simply pulls it to the driver.
With fine tuning, you can adjust the set distance and speed to fit your own printers specifications.
This is an important step that cannot be rushed.
Without fine-tuning, the printer will not be able to print in the correct scale and will most likely be blocked when the first layer is deposited.
Now that the motor is powered, you can plug in the piston.
They should have enough clearance to move freely, but the powder does not leak in the clearance.
When you are sure that the piston fits, you can connect the piston wires to the ramp and activate the motor to move them down.
If you do a good job, the piston should move down smoothly in a straight line.
If not, please polish the edge of the piston again or adjust the wall guide.
Adjust the firmware value for all of the following adjustments, you need to open Beta 0.
02 sketch and go to the move tab.
At the top, you will find all the adjustable values related to motion.
First, you need to calculate the number of steps per mm.
For gantry, this can be approximate with this calculator.
Fill in the number of steps per mm at \"xy _ steps _ per mm.
Screw bars are more tricky.
You must find the spacing of the threads you are using.
In the case of M4, this is 0, 7mm.
You can get 16 x microsteps and 200 steps per rotation (200x16)/0.
7 = 4571 steps per mm.
If you use something different, please recalculate and fill in at \"z _ steps _ per _ mm.
The firmware needs to know the size of your build box.
Measure the size of the build box in mm and adjust the values of \"x _ print_size_mm\" and \"y _ print_size_mm.
To set the center to set the center, you need to adjust the offset values \"x _ endstop_off _ mm\" and \"y _ endstop_off _ mm \".
This is the distance between the homing location and the central location.
The center does not have to be right in the middle, but the more accurate the better.
In order to store the new layer, the carriage needs to grab the depositor and set the connection distance.
This value is fine-tuned by trial and error to see how much it turns off and then adjust it to compensate.
The only adjustable value is the X distance with \"X _ hookup_offset _ mm \".
This is the distance between the center and the connection.
Another value is not adjustable because the connection should be in the center.
The installation method of the hook should be that when the depositor deposits, the carriage only grabs the fixed hook.
After the depositor reaches the end point, it will be slightly sideways and will also grab the mobile hook that mentions the depositor.
Adjust these distances until it settles and lifts in the way it should.
First of all, Focus was built to answer a question I asked 10 months ago, that is, how hard it is to build a SLS printer.
After 10 months, I can give you an answer: very, very hard.
Fortunately, my goal is not just to answer seemingly simple questions.
I designed the focus around standard open source components and electronics, so it\'s easy to build.
I remember other printing techniques and most of the parts are modular so it can be adjusted easily.
I think I \'ve made an open source powder printing platform that should be able to help everyone who wants to start trying powder printing.
The focus is far from complete, and there is a lot of work to be done before the focus is easy to work for everyone.
However, the focus is at the stage where people can start contributing to it, and I am sharing all my work so that people can have a better start with powder printing.
Anyone who wants to improve the design can continue.
As long as you also owe it to the source code, you are free to use all the parts, plans, and schematics and make improvements to them.
I have a few links in the entire structure.
These links point to other information or certain groups or people that have achieved results in the relevant technologies.
Below I have sorted out the list of links that have been linked in this structure.
My page: focus. blogspot. nl/www. thingiverse.
Com/thing: 33697 other information about 3D printers, tool heads, parts and materials for sintering candle holder wax printerandbasbasbastian. com/3dp/3dp.
Arduino inkjetnicholas Clewis html.
Com/project/inkshield/DIY piezoelectric ink spray head.
Org/wiki/Scratchbuilt_Piezo_Printheadfablab. waag. Organization/project/diy-inkjet-headreprap.
Org/wiki/remapped-
Inkjet printing in ceramiceramicartsday. org/ceramic-
Supply/pottery-clay/the-printed-
Custom message
Related Products