towell@sztuowei.com


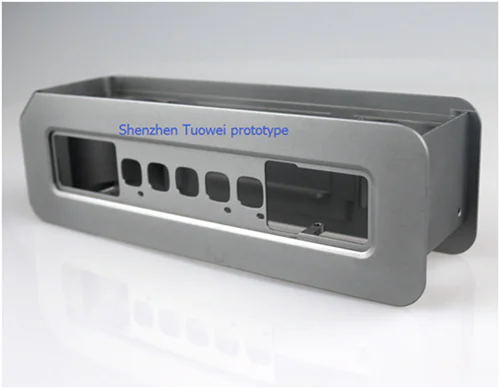
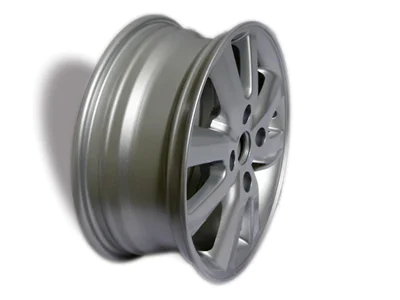
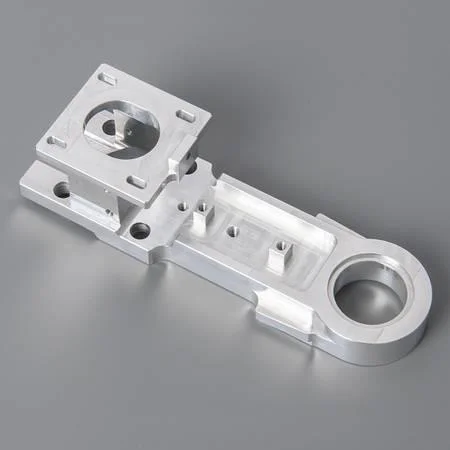
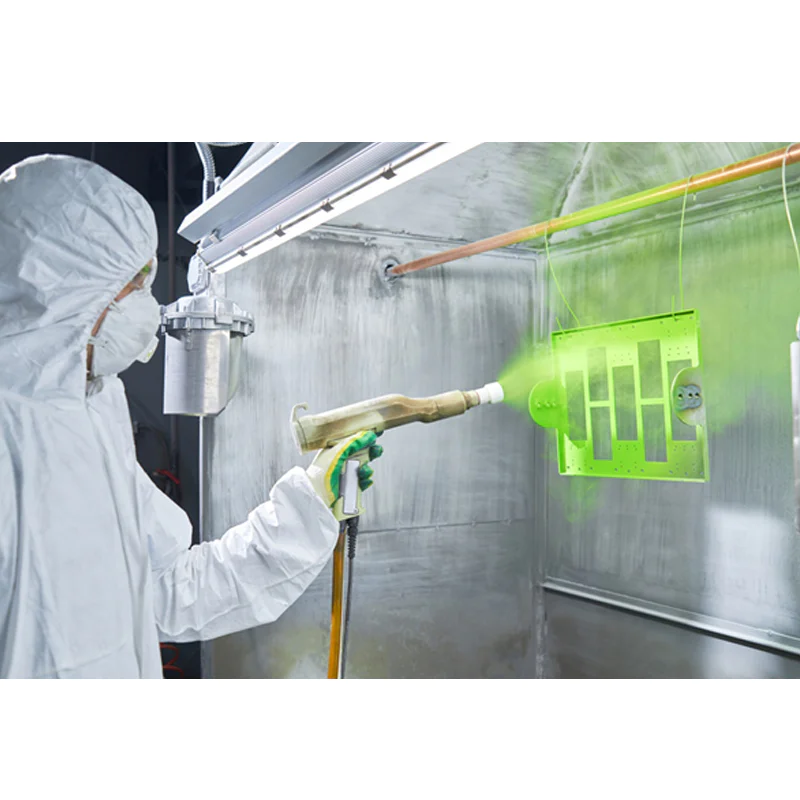
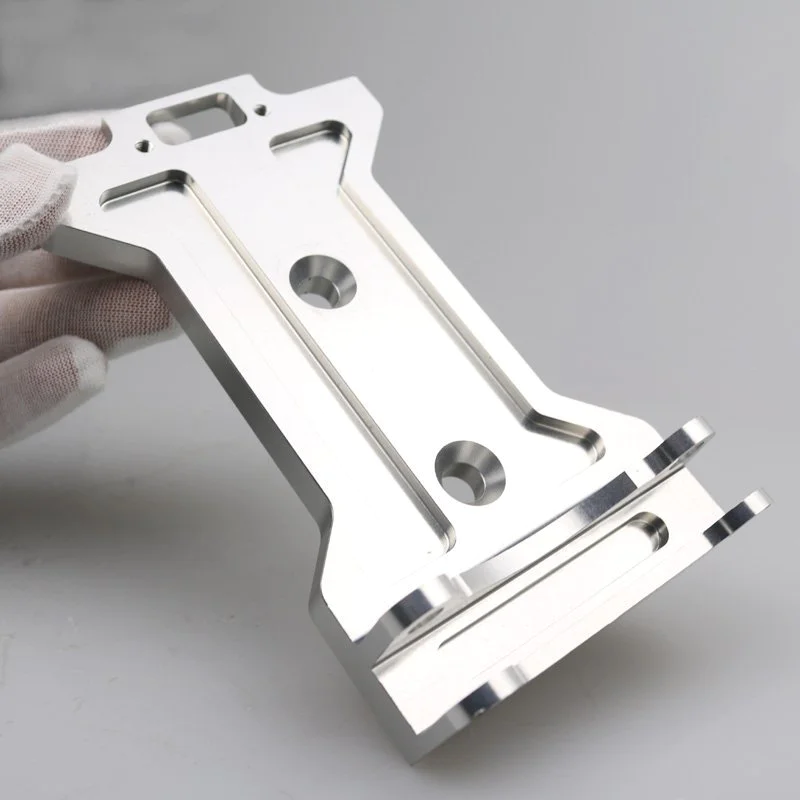
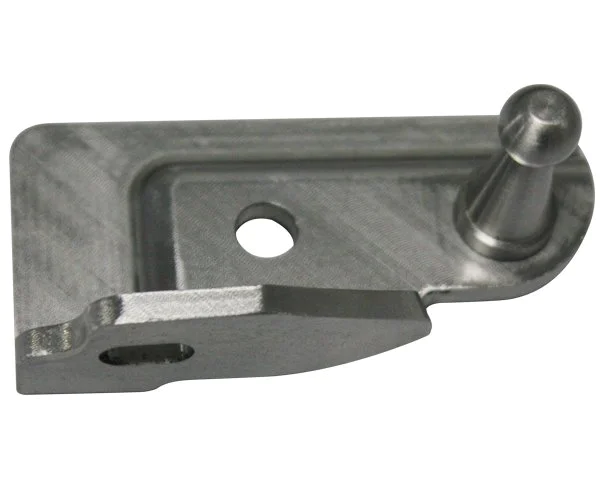
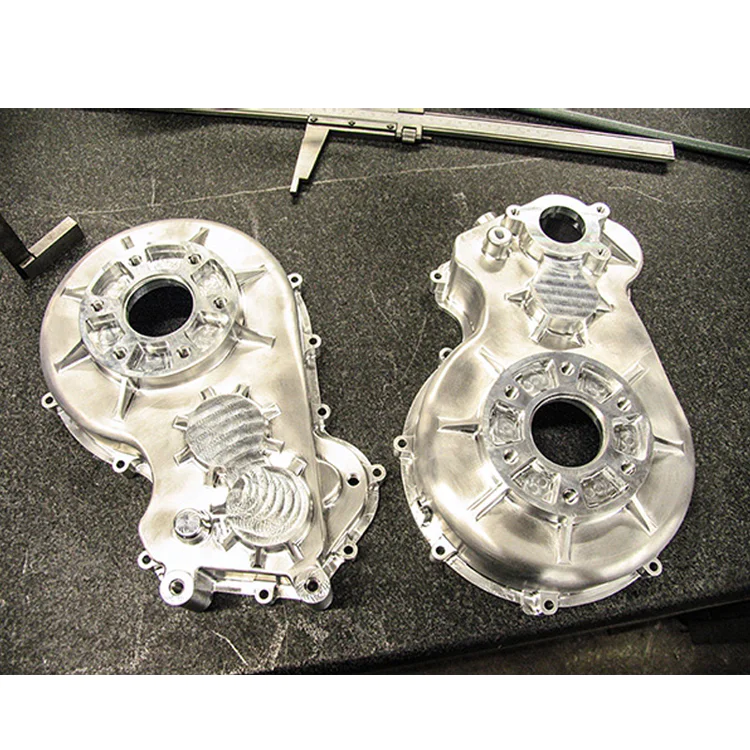
About Aluminum Prototype in Tuowei Prototype Center
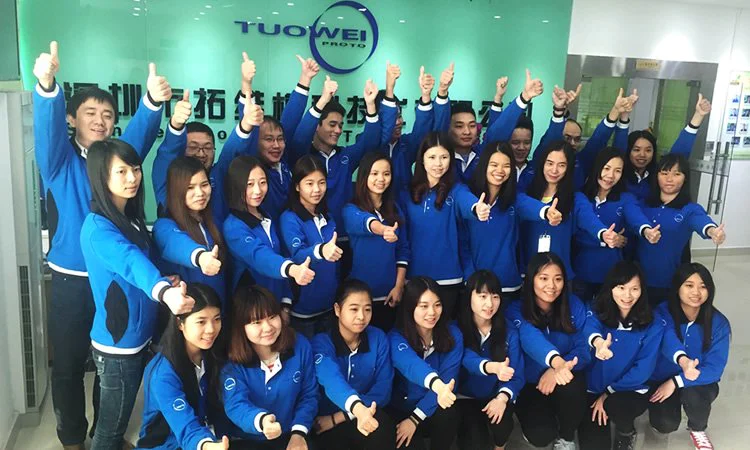
Tuowei Prototype is a professional supplier and industry leader focusing on providing Rapid Prototyping services and Rapid Tooling services for model making and mass production for worldwide clients seeking design and development of NPI (New Product Innovation).