towell@sztuowei.com


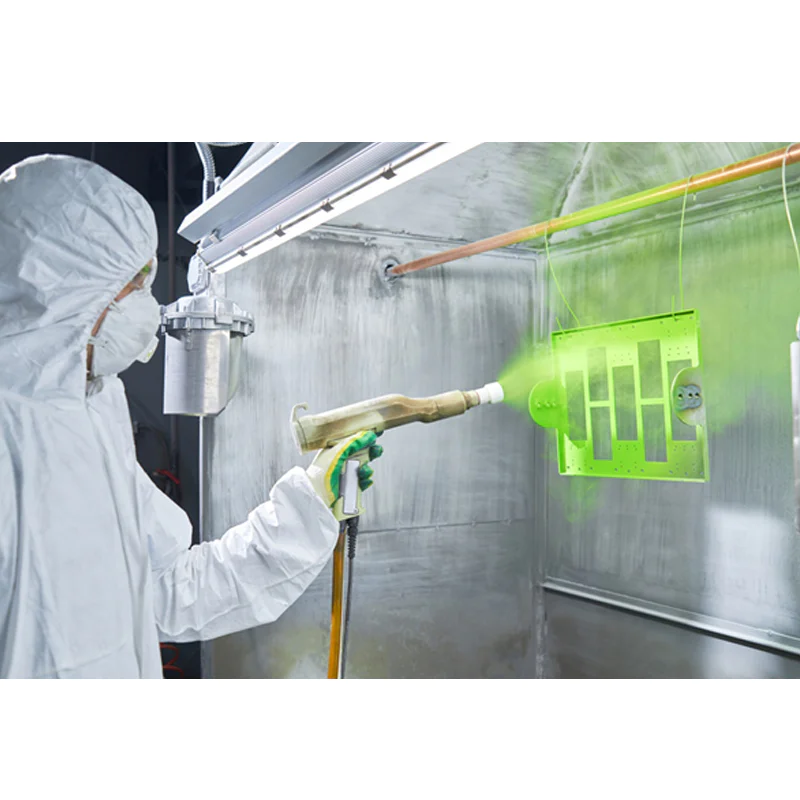
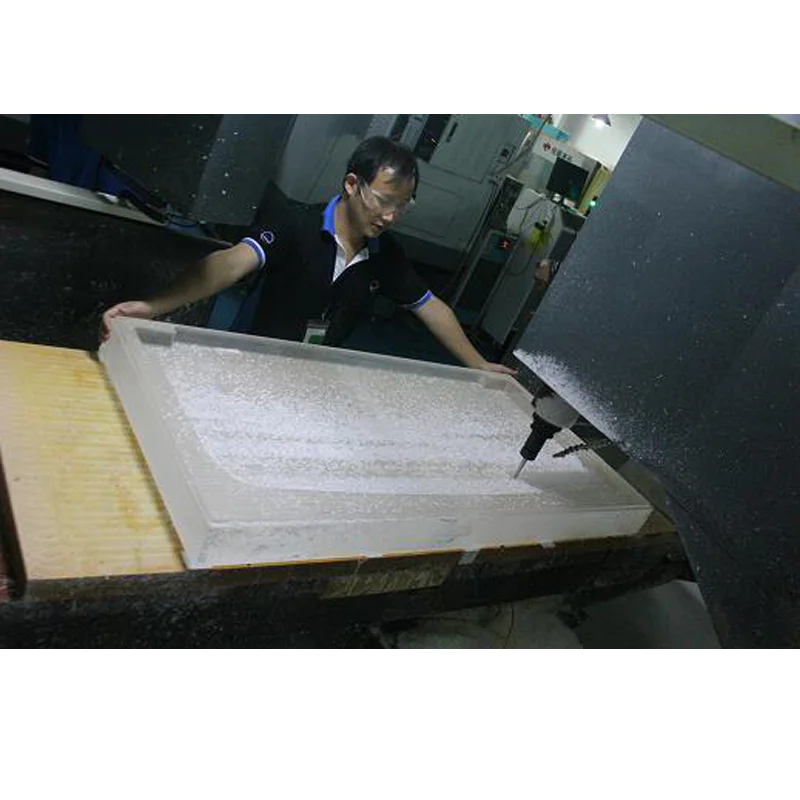
How to Machine Glass using CNC: A Comprehensive Guide
Portal Cube
by:Tuowei
2019-09-09
If you are a fan of the portal game series like me, you can easily understand the appeal of having a physical representation of such a logo game Project: Portal Cube.
The name is a weighted storage cube.
It is very similar to the Companion Cube and it can be made with the same instructions and very small adjustments.
The size of the final product is: 9. 3 cm x 9. 3 cm x 9. 3 cm (9.
About 3 cm 2/3)
Don\'t do that, let\'s get started!
When I started this project, I looked for an existing high quality Cube 3D model that could fit my needs.
Most of them are too approximate, or it is difficult to break into parts that can be combined.
I decided to do it myself with a blender.
I went through various iterations and adjusted the model to all the constraints of the project: I have exported all the necessary parts in STL format. (
If there is no 3D printer, you can use the 3D printing service to send STL files for printing)
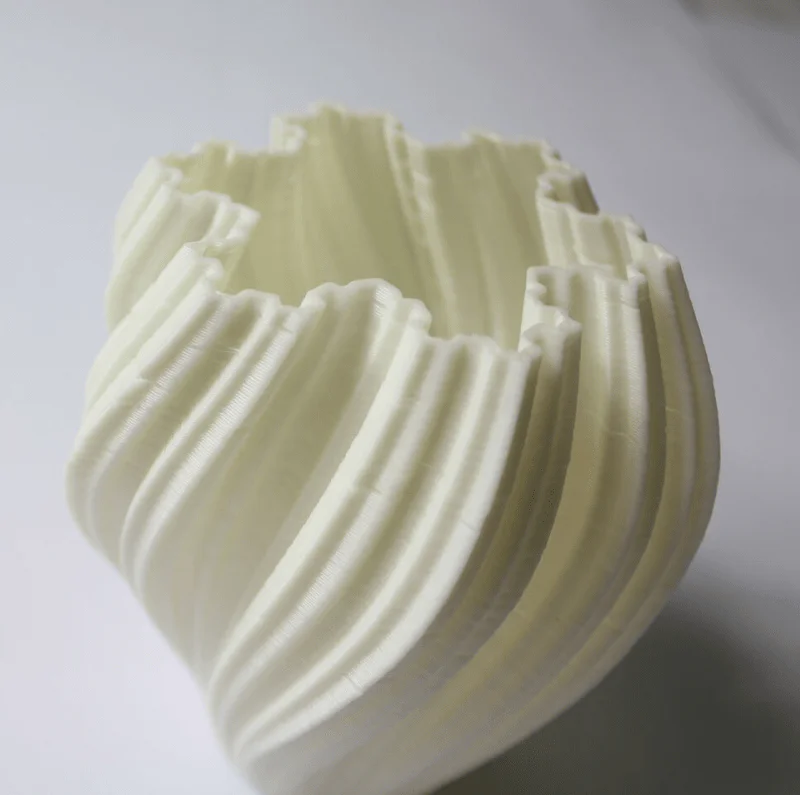
I personally use the Prusa i3 Mk3 printer.
Due to the difference in each printer, the resulting print model quality and print time may be different from what I have shown below.
I designed the part as described in the previous step, so no support is needed.
Print parameters print all parts in 0.
15mm layer with 0.
Nozzle 4mm, 1.
75mm PLA silk.
I found printing with 0.
The 15mm floor height is a good compromise between speed and quality.
Also, none of the parts have small enough vertical details to justify the use of a lower layer height.
Print the material of the parts you need 4 different colors of PLA filament: the core can be printed in any color because it can\'t be seen from the outside.
The displayed model has been printed using AMZ3D 1.
75mm filamentNote: If you don\'t have the right color, you can still draw the part after (see Step 3 )
This part is optional as it depends on how the part comes out of the printer and/or you don\'t have the proper filament color.
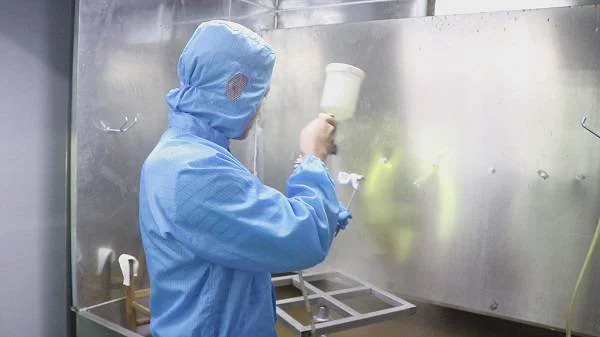
If there are too many printed layers or other printed-related artifacts displayed by the parts, you need to polish them off.
Warning: Please note that polishing the color PLA may \"whiten\" the color and may require drawing steps.
I usually only sprinkle sand in the white corner.
They are part of the display of the most obvious printed artwork.
Because they represent a large part of the volume of the final model, these artifacts will be more obvious.
Note: I also recommend wet sanding as this will minimize the amount of particles in the air generated by grinding the workpiece.
I won\'t go into details, the Internet is filled with wonderful tutorials on post-processing 3D printed parts (
Please see the recommended link in the drawing section below)
You can use various techniques if you need to draw parts to get the right color (
Paint, spray gun. . . )
There is a great article about post
Processing 3D printed parts: multiple ways to build cubes.
Here I will show a place to build faces from the core.
This step is very simple and important: Make sure to leave a face behind now.
This will simplify the installation of the external and support surfaces.
In this step, we will build the external side.
The instructions are a bit different for the last face: This step is very simple.
The last steps to build! And voila !
, You are now the owner of the Portal Cube!
The name is a weighted storage cube.
It is very similar to the Companion Cube and it can be made with the same instructions and very small adjustments.
The size of the final product is: 9. 3 cm x 9. 3 cm x 9. 3 cm (9.
About 3 cm 2/3)
Don\'t do that, let\'s get started!
When I started this project, I looked for an existing high quality Cube 3D model that could fit my needs.
Most of them are too approximate, or it is difficult to break into parts that can be combined.
I decided to do it myself with a blender.
I went through various iterations and adjusted the model to all the constraints of the project: I have exported all the necessary parts in STL format. (
If there is no 3D printer, you can use the 3D printing service to send STL files for printing)
I personally use the Prusa i3 Mk3 printer.
Due to the difference in each printer, the resulting print model quality and print time may be different from what I have shown below.
I designed the part as described in the previous step, so no support is needed.
Print parameters print all parts in 0.
15mm layer with 0.
Nozzle 4mm, 1.
75mm PLA silk.
I found printing with 0.
The 15mm floor height is a good compromise between speed and quality.
Also, none of the parts have small enough vertical details to justify the use of a lower layer height.
Print the material of the parts you need 4 different colors of PLA filament: the core can be printed in any color because it can\'t be seen from the outside.
The displayed model has been printed using AMZ3D 1.
75mm filamentNote: If you don\'t have the right color, you can still draw the part after (see Step 3 )
This part is optional as it depends on how the part comes out of the printer and/or you don\'t have the proper filament color.
If there are too many printed layers or other printed-related artifacts displayed by the parts, you need to polish them off.
Warning: Please note that polishing the color PLA may \"whiten\" the color and may require drawing steps.
I usually only sprinkle sand in the white corner.
They are part of the display of the most obvious printed artwork.
Because they represent a large part of the volume of the final model, these artifacts will be more obvious.
Note: I also recommend wet sanding as this will minimize the amount of particles in the air generated by grinding the workpiece.
I won\'t go into details, the Internet is filled with wonderful tutorials on post-processing 3D printed parts (
Please see the recommended link in the drawing section below)
You can use various techniques if you need to draw parts to get the right color (
Paint, spray gun. . . )
There is a great article about post
Processing 3D printed parts: multiple ways to build cubes.
Here I will show a place to build faces from the core.
This step is very simple and important: Make sure to leave a face behind now.
This will simplify the installation of the external and support surfaces.
In this step, we will build the external side.
The instructions are a bit different for the last face: This step is very simple.
The last steps to build! And voila !
, You are now the owner of the Portal Cube!
Custom message
Related Products