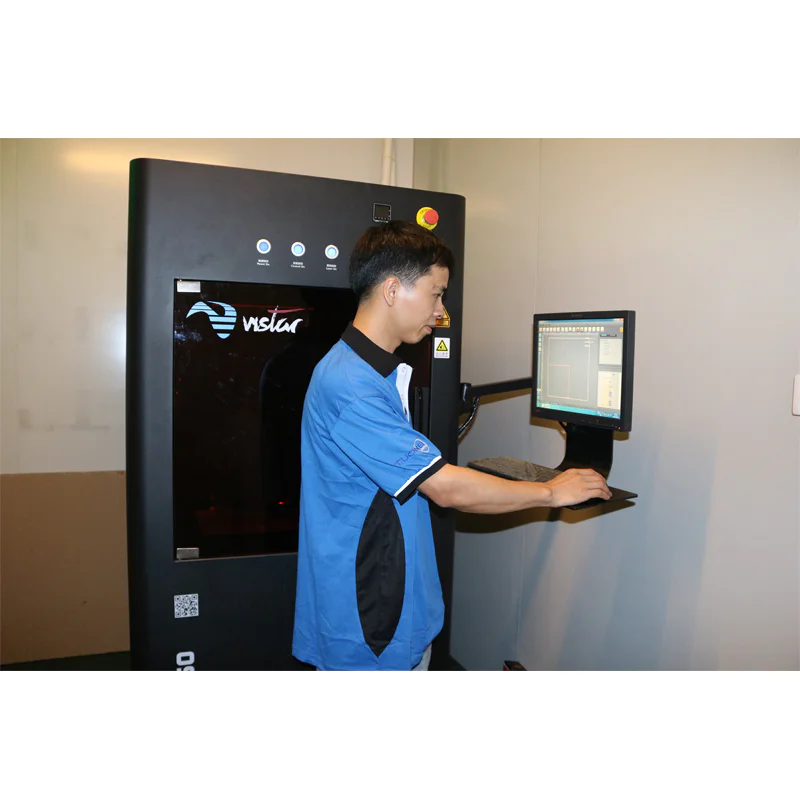
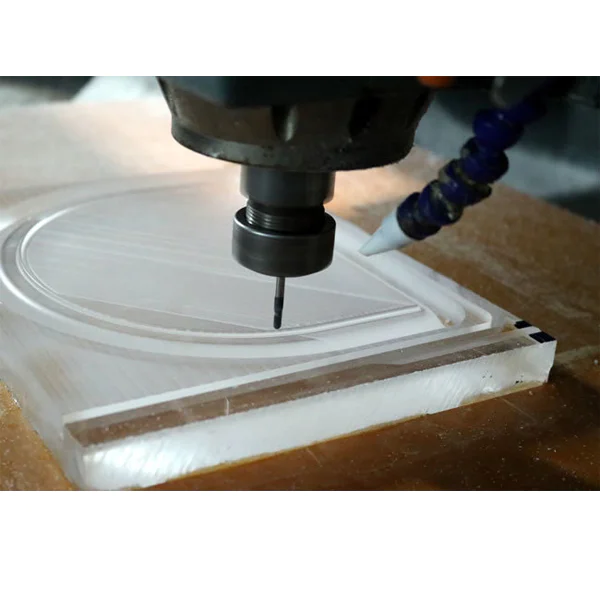
Rapid Prototyping Services, Professional manufacturer of CNC Prototyping and 3D Prototyping in China. 

$200 DIY 3D Printer Build

by:Tuowei     2019-09-11
3D printing technology is rapidly changing the world of rapid prototyping and engineering design, with every amateur, budding engineer dreaming of getting into the technology and using it to make their designs
I\'m like you always wanted to start 3D printing and make my imagination a reality, but the best 3D printer is really expensive, like MakerBot Replicator, Ultimaker costs 1000
This is not possible for beginners or amateurs to buy.
But now there are very cheap kits to start using.
I have just started my 3D printing tour recently and I will tell you that there is a good option to start with everything but you missed a lot of things.
At instructures, I will show how to assemble the Creality andmonth 3D printer.
Before you start making a 3D printer, you should know the types of 3D printers available and how they work.
I will try to give you a short idea here about each type.
FDM technology builds objects layer by layer from the bottom up by heating and squeezing thermoplastic wires.
First, the dedicated software \"cuts\" the CAD model into layers and calculates how the printer extruder builds each layer.
In addition to the thermoplastic material, the printer can also squeeze out the supporting material.
The printer then heats the thermoplastic until it melts and squeezes it out of the entire nozzle to the end seat along the calculated path, also known as the build platform or table.
The computer of the 3d printer converts the dimensions of the object into X, Y, and Z coordinates, and controls the nozzle and base to follow the calculation path during printing.
To support the upper layer, the printer can be placed under special materials that can be dissolved after the printing is completed.
The printing process includes a 3D printing machine that is uniquely designed, called a stereo printing device (SLA)
Convert liquid plastic into solid 3D objects.
The SLA 3D printer uses excessive amounts of liquid plastics that sometimes harden and form solid objects.
After the plastic hardened, the printer\'s platform dropped a small part in the tank, and the laser formed the next layer until the printing was completed.
After printing all the layers, you need to rinse the object with a solvent and then put it in the UV oven to finish the processing.
Selective Laser Sintering (SLS)
It is a technology that uses laser as a power supply to form three-dimensional objects.
SLS are more spread between manufacturers than 3D amateurs at home because the technology needs to use high
This makes the printer very expensive.
This guy is an expert in making printers like hobby in the process of LOM, adhesive layer-
Coated paper, plastic or metal laminate is melted together with heat and pressure and then cut into shape with a computer-controlled laser or knife. Post-
The processing of 3D printed parts includes steps such as machining and drilling.
The OM printer uses continuous paper coated with adhesive, which is laid on the substrate with a heating roller.
The heating roller through the material sheet on the substrate melts its adhesive.
The laser or knife then tracks the desired size of the part.
In addition, the laser passes through the hatch of any excess material in order to help with easy removal after the printing is complete.
First fix the gantry on the base with a right angle bracket.
Aluminum extruded threaded holes at the bottom so that they can be easily attached to the base.
I fixed the gantry on the base with m4 bolts.
All tools are in the kit.
The Ender has a heated bed which makes it suitable for ABS printing.
The heating bed is suitable for transport belt 3 m³ mm 12 cm bolt spring and Adjusting nut.
The bed layer can be adjusted using the adjustment nut.
Tighten the bolts and springs a little with a screwdriver and take a moment to adjust the bed, otherwise all printing will fail.
The Z axis is moved with a single film association 17.
The Z motor is fixed on aluminum extrusion with some bolts and a special nut.
The coupler is then added to the motor and tightened with the help of the flat head screw.
Now we need to fix 4-
Star ladder screw inside the hook.
In addition, tighten the screws with another grubscrew.
Then install the x-axis on the screw.
Then rotate the screw so that the screw is located in the flange bearing;
The X compartment is equipped with a motor mounted on the Z compartment.
With the help of two bolts, only one aluminum extrusion needs to be fixed with a bracket.
Then insert the x-axis on the aluminum extrusion.
As before, the timing belt passes through the motor gear and then is squeezed through aluminum, which goes through the pulley and is mounted on the x-compartment.
Tighten the pulley now to increase the tension of the belt.
The X car is equipped with a heating block.
Connect the four fluorine tube to the extruder motor and tighten it.
Connect all limit switches.
One for the x-axis, one for the y-axis, and the other for the z-axis.
Why do we need limit switches?
The limit switch helps the printer to return.
If there is no limit switch, the printer will not know where to stop.
Finally, connect all the motors and switches to the motherboard, so it is very easy to connect because all the wires are labels.
Now enjoy the awesome project of 3D printing.
Ender can print very fine 3D print details.
Getting great print out of the printer requires less learning and tweaking compared to my anet.
Custom message
Chat Online
Chat Online
Leave Your Message inputting...