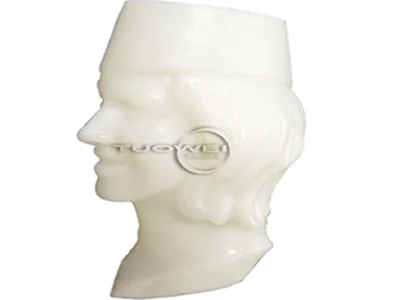
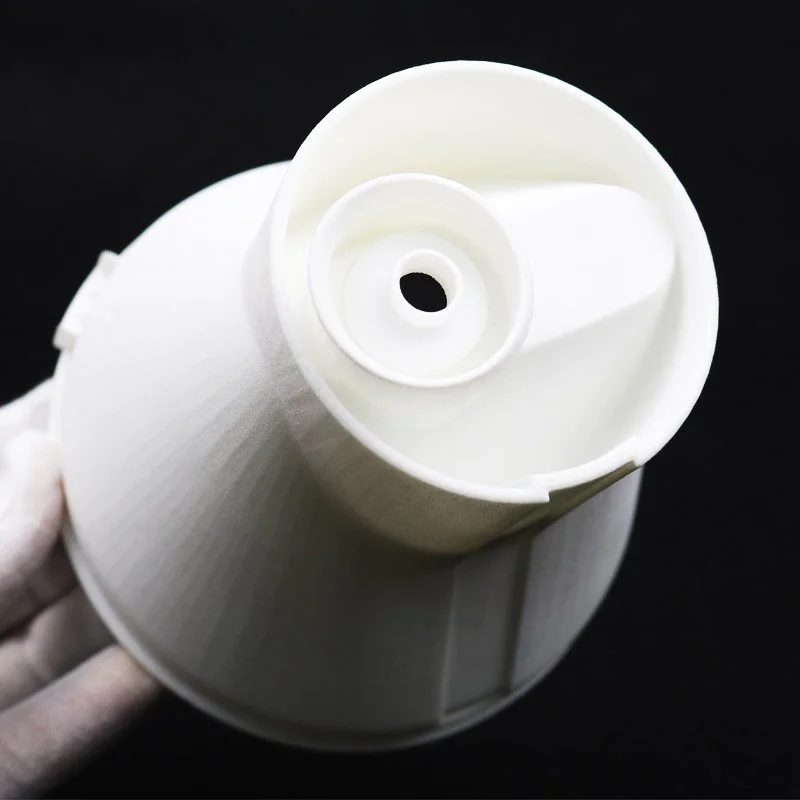
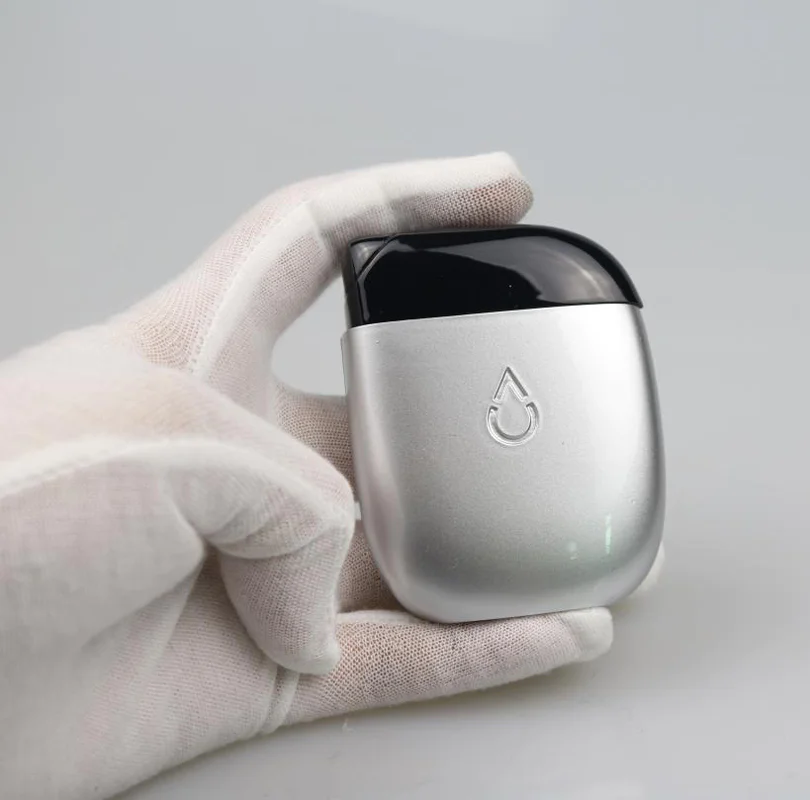
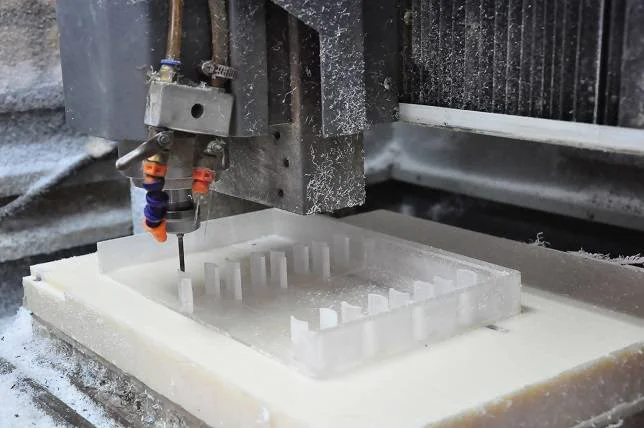
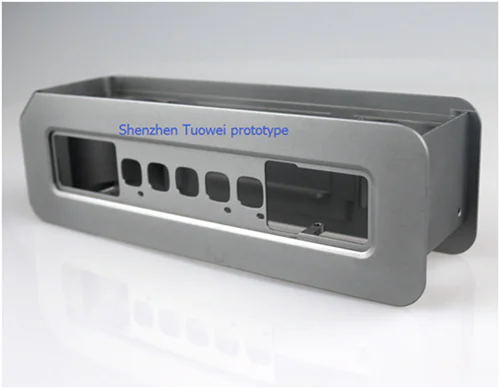
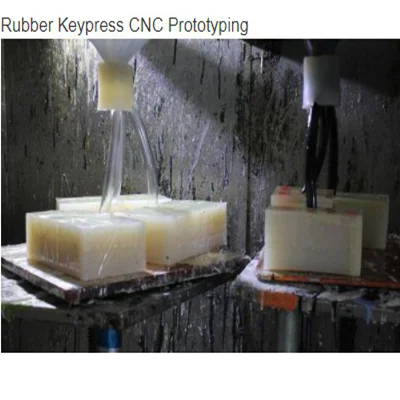
Rapid Prototyping Services, Professional manufacturer of CNC Prototyping and 3D Prototyping in China. 

Download, Edit and Print Your Own Parts From McMaster-Carr

by:Tuowei     2019-09-09
McMaster Carr is a great resource.
It is well laid out, informative and comprehensive. .
But better yet, they offer free 3D models for most parts.
Not all, but a lot.
If you can use a 3d printer, you can print these parts yourself.
Cool, right?
First, point the browser. . . See? Easy peasy.
Just click on it.
Not all parts on McMaster have 3D models available for download.
I will look for the sprocket in this example.
I have navigated to the part I want and clicked on the part number.
A small box pops up with some information.
More importantly, there is a small symbol next to this special section that represents the availability of the 3D model.
I highlighted it with an arrow in the picture.
After clicking the product details icon, this is the page you came.
I would like a STEP file as I will go into fusion360.
If you are a CAD software user who accepts any Display files, congratulate you!
You can now use these files for modeling or 3d printing.
I, I go ahead and go to Tinkercad, edit the parts a little and then go to 3D printing.
For this I need to convert STEP to STLs.
After downloading the file, open Fusion360 and click upload \".
Open it when the upload is complete.
Single individuals can only be exported (solid shapes)
So you either delete what you don\'t want or download it one by one.
In the navigation menu, click body \".
In the tree shown, select the entity you want to delete or download.
In this case, the sprocket comes with a fixing screw in the model and I remove it.
In the pop-up menu, click Advanced as advanced \".
Do not change any measurement settings.
Head to Tinkercad.
A new project was launched.
On the right side you will see the option to \"upload files.
Navigate to STL and upload again without changing any size parameters.
Here is the file for this sprocket, uploaded to TinkerCad: you need to edit the model.
I might want different shaft diameters, for example;
But since I uploaded this entity, I have to do a little workaround.
First fill the shaft holes there and group the two shapes.
Then I made a cylinder of the Axis size I wanted, made a hole, centered on the model, and grouped.
In this step, you can add multiple STLs if you want a complex part, such as where the gears interact.
The advantage of 3d printing is that you can do multiple iterations of custom parts, otherwise it usually takes a lot of time and money.
You can even do a special shape shaft drivelike a hex!
I have printed the sprocket on objet connect 500.
On the left is the part ordered from master and on the right is my printed part.
You can use this technology on various parts;
Many people on Master will print well on low resolution/squeeze 3d printers like makerbot.
Motor support, pillow block, chain tension, special support, pulley-
Will print well on the extrusion printer.
I also encourage changes!
After 3d printing, you can add decorative elements and even combine parts!
Another thing you can do is use the product file as a subtraction/hole.
For example, you can download the file of the pressure fit bearing and change it to \"hole\" in TinkerCad. if you subtract it from the base, you can perform perfect pressure fit.
You can also use it to create the perfect groove for bolts and fasteners.
I\'m going to post more in-depth techniques in the later instructures, but now, go out and get some parts!
Another website that provides CAD files is SDP (
Standard drive products):sdp-si.
Custom message
Chat Online
Chat Online
Leave Your Message inputting...