towell@sztuowei.com


Happy Christmas---big discount for making plastic and metal prototypes---Shenzhen Tuowei model
design and print 3d models
by:Tuowei
2019-08-15
This Instructure is designed to help users design and print objects using 3d modeling programs and online 3D printing services.
In this tutorial I will use Autodesk 3DS Max as this is the program I use and know best but there are a lot of free alternatives to use.
Some of the recommended free alternatives include Blender and Google Sketchup.
Any software settings or commands I discuss should have a relatively similar process in both programs or any other 3d modeling program, however, if it is not a quick search with your favorite search engine, there should be some useful results.
Nothing I discuss will be complicated.
The 3d printing service I use is called shapeway.
They have a large selection of materials and a strong user support base, and their websites and material libraries are also updated frequently and at low prices. (Very important! )
There are many options, however, and you can decide which one you like best.
It is very important to adjust the settings of your program before you start.
You want to make sure your unit is correct in order to print your model in the right scale.
Grid lines should also be set so that you can easily create and manipulate models based on your preferred units.
I always like to work on metrics.
Even though I am American, I find that metrics make the design process simpler and make it easier to extend the model.
It is also easier to work at small scales using millimeters instead of inches.
Not only is this because many 3d printing models are small and/or detailed, but it helps you to maintain awareness of the maximum wall thickness and other measurements, which I will discuss later.
In 3ds Max, it is very easy to change the unit settings.
Just customize> device settings.
There you can change which unit category you want to work in and which unit is the base unit. (
The basic unit is based on the measurement of a specific unit.
For example, if I set my base unit to cm and create a box of 1 cm x 1 cm, the size of the box will be shown as 1x1.
But if I change the base unit to mm, even if the physical size of the box has never changed, the size of the box will now be displayed as 10x10. )
To change the system units (the units displayed by the ruler and grid lines), press the system unit settings button located at the top of the unit Settings screen.
The default setting is 1 unit = 1 inch.
I like to change this so 1 unit = 0. 1 [
The unit I work in].
This is because each grid line represents 10 units, so that each grid line becomes 1 unit.
However, please feel free to change it to whatever works best for you.
I suggest keeping the device in the same measurement system (
Metrics, general, etc)
Just like you\'re at work.
Before starting any design, planning is an important step no matter what the purpose of the model is.
In 3d printing, two important issues to consider are minimum wall thickness and detail.
Depending on the printer used and the materials used, these measurements will vary.
The minimum wall thickness is how thick the thinnest part of the object is.
Your object must be thick enough to be printed with the required material.
You also need to consider how thick the supporting part of the model is.
For example, if I make wine glasses in stainless steel (why not? )
I made the stem 1mm thick and it was not strong enough to support a large structure above.
But if I change the thickness of the stem to 5mm, it will become stronger.
The level of detail is also important because the 3d printer can only create details to a certain extent.
Like normal printers, they don\'t have unlimited resolution.
So you need to do some research on the 3d printer to determine how much detail your object can have.
For moving parts, you also need to compare the gaps between the parts to ensure that they do not merge unexpectedly during printing.
All of this is based on what material you decide to use.
Different materials have different minimum wall thickness and detail levels, as well as clearance thresholds.
Information about the different materials provided by shape, as well as Specifications for details, gaps and wall thickness, can be found here and here.
Also be sure to check out their community forums for help and advice.
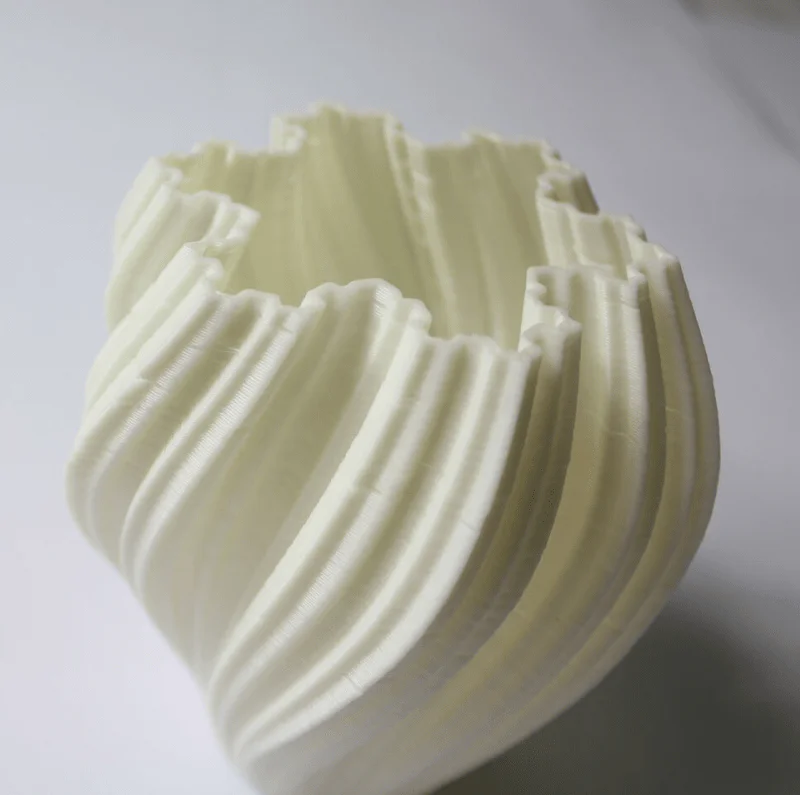
This is the part where you actually create the model.
The design can be simple and complex. it doesn\'t matter.
Create what you want, this is your choice!
Here is an example of a model I made for my mom\'s birthday.
This is not complicated, there are only two boxes with twist and bend modifiers.
But the printed result looks great and she likes it.
So don\'t create super just because you can\'t. high-
Details of Hollywood
This means that you are not suitable for 3d printing.
Do your best to know that it is important that you are satisfied with the results.
In order to print correctly, you must export the model to the correct file format.
Shapeways support. stl, . dae, . x3d, .
3 db, wrl, zip and 3 dv.
I usually export my model.
Because I know it\'s a valid file type.
However, for full-
Colored sandstone (
Only material that supports texture)
There are certain restrictions.
For information about this material, click here.
Export is a fairly simple process in most programs.
Typically, it only involves submitting> exports in a 3d modeling program.
In the new version of 3DS Max, the File menu has been replaced by the Green 3DS Max logo in the upper left corner of the screen.
Click there and click export.
The process of uploading files to be printed varies depending on the print service you like.
I will direct you to upload the file to shapeway.
First, you have to create an account.
Just click on the \"register\" button in the upper right corner of the home page to complete the registration as you would on any other website.
After completing the registration, return to the home page.
If you are not logged in, please log in at this time.
To upload the model, press the pink \"upload\" button under the user name (
Your username is displayed at the location before the register button. )
The upload process is quite simple.
Press browse and select the file.
Enter the title and description.
Then select the gallery and category you want the model to include and add some tags.
Check the two boxes at the bottom and press upload \".
\"In about 5 minutes you will receive an email telling you whether your model upload was successful or not.
Shapeway will provide some online tools to help you solve the problem if it doesn\'t work.
The last step is to print your model.
Find your model page by clicking my design in the main toolbar.
Click on the title of your design to access its page.
On the model page, you can select the material you want to order and then add it to your cart by pressing order now.
The price will change depending on the material you choose.
Once your model is in the cart, you can continue shopping (
You can also purchase models from other users)or checkout.
It takes about 10 days after checkout (
Their shipping estimate may have changed since my last order)
Let your model arrive.
Enjoy new ideas, remember to design and innovate!
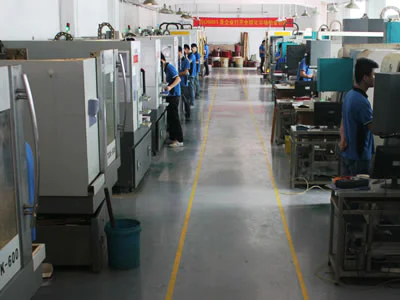
Shenzhen Tuowei Model Technologies Co., Ltd. as one who also teaches operations about how we use our whole operating system as a way to gain advantage and create considerable value and capture value in a sector where, in essence, the environment is quite hostile from a competitive point of view.
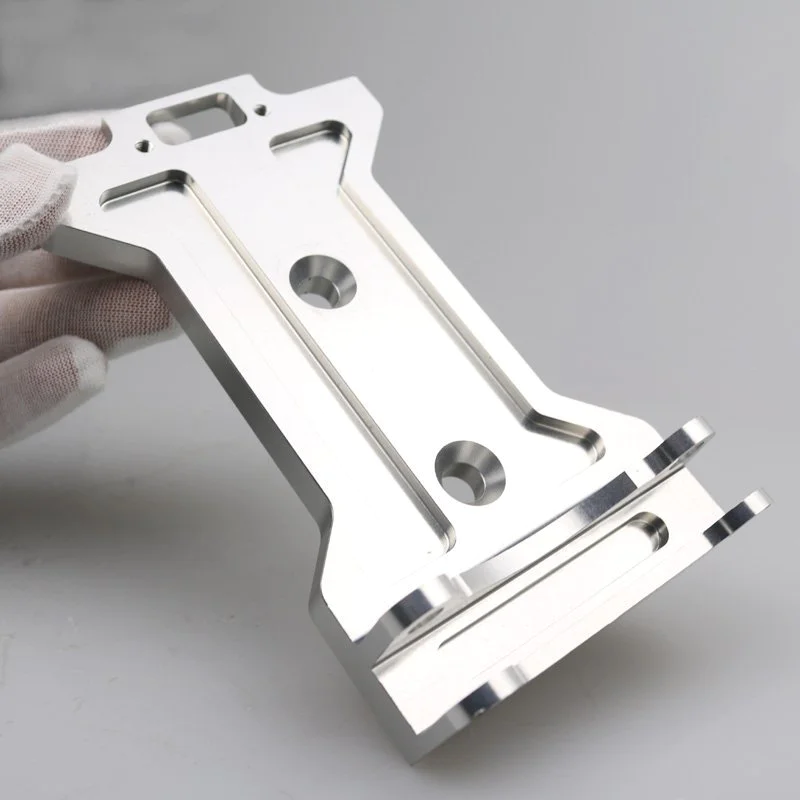
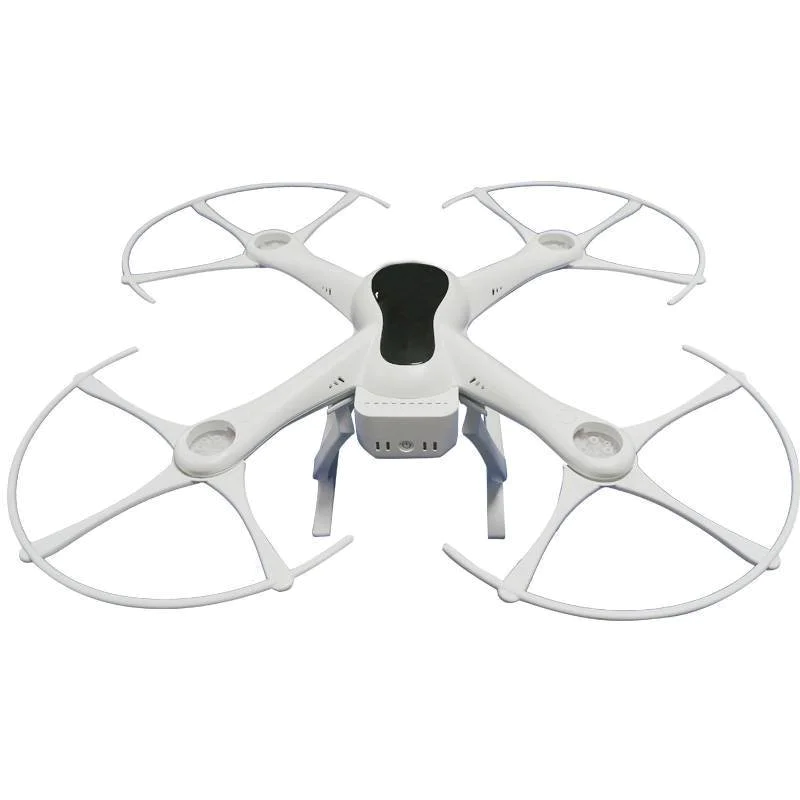
What are you waiting for? Don't you want to provide perfect support to cnc machining prototype service? If yes, so, switch to plastic components right away!
The stability of the system, controllability of the professional 3d printing services process, and mobility of the machines provide with a flexible and reliable all plastics molding system.
Deeper connections between Tuowei and plastic mold technologyare made when you go beyond the white lights of a corporate space.
The same determination is critical for business owners. The journey in injection moulding business business is both a challenging and rewarding experience.
In this tutorial I will use Autodesk 3DS Max as this is the program I use and know best but there are a lot of free alternatives to use.
Some of the recommended free alternatives include Blender and Google Sketchup.
Any software settings or commands I discuss should have a relatively similar process in both programs or any other 3d modeling program, however, if it is not a quick search with your favorite search engine, there should be some useful results.
Nothing I discuss will be complicated.
The 3d printing service I use is called shapeway.
They have a large selection of materials and a strong user support base, and their websites and material libraries are also updated frequently and at low prices. (Very important! )
There are many options, however, and you can decide which one you like best.
It is very important to adjust the settings of your program before you start.
You want to make sure your unit is correct in order to print your model in the right scale.
Grid lines should also be set so that you can easily create and manipulate models based on your preferred units.
I always like to work on metrics.
Even though I am American, I find that metrics make the design process simpler and make it easier to extend the model.
It is also easier to work at small scales using millimeters instead of inches.
Not only is this because many 3d printing models are small and/or detailed, but it helps you to maintain awareness of the maximum wall thickness and other measurements, which I will discuss later.
In 3ds Max, it is very easy to change the unit settings.
Just customize> device settings.
There you can change which unit category you want to work in and which unit is the base unit. (
The basic unit is based on the measurement of a specific unit.
For example, if I set my base unit to cm and create a box of 1 cm x 1 cm, the size of the box will be shown as 1x1.
But if I change the base unit to mm, even if the physical size of the box has never changed, the size of the box will now be displayed as 10x10. )
To change the system units (the units displayed by the ruler and grid lines), press the system unit settings button located at the top of the unit Settings screen.
The default setting is 1 unit = 1 inch.
I like to change this so 1 unit = 0. 1 [
The unit I work in].
This is because each grid line represents 10 units, so that each grid line becomes 1 unit.
However, please feel free to change it to whatever works best for you.
I suggest keeping the device in the same measurement system (
Metrics, general, etc)
Just like you\'re at work.
Before starting any design, planning is an important step no matter what the purpose of the model is.
In 3d printing, two important issues to consider are minimum wall thickness and detail.
Depending on the printer used and the materials used, these measurements will vary.
The minimum wall thickness is how thick the thinnest part of the object is.
Your object must be thick enough to be printed with the required material.
You also need to consider how thick the supporting part of the model is.
For example, if I make wine glasses in stainless steel (why not? )
I made the stem 1mm thick and it was not strong enough to support a large structure above.
But if I change the thickness of the stem to 5mm, it will become stronger.
The level of detail is also important because the 3d printer can only create details to a certain extent.
Like normal printers, they don\'t have unlimited resolution.
So you need to do some research on the 3d printer to determine how much detail your object can have.
For moving parts, you also need to compare the gaps between the parts to ensure that they do not merge unexpectedly during printing.
All of this is based on what material you decide to use.
Different materials have different minimum wall thickness and detail levels, as well as clearance thresholds.
Information about the different materials provided by shape, as well as Specifications for details, gaps and wall thickness, can be found here and here.
Also be sure to check out their community forums for help and advice.
This is the part where you actually create the model.
The design can be simple and complex. it doesn\'t matter.
Create what you want, this is your choice!
Here is an example of a model I made for my mom\'s birthday.
This is not complicated, there are only two boxes with twist and bend modifiers.
But the printed result looks great and she likes it.
So don\'t create super just because you can\'t. high-
Details of Hollywood
This means that you are not suitable for 3d printing.
Do your best to know that it is important that you are satisfied with the results.
In order to print correctly, you must export the model to the correct file format.
Shapeways support. stl, . dae, . x3d, .
3 db, wrl, zip and 3 dv.
I usually export my model.
Because I know it\'s a valid file type.
However, for full-
Colored sandstone (
Only material that supports texture)
There are certain restrictions.
For information about this material, click here.
Export is a fairly simple process in most programs.
Typically, it only involves submitting> exports in a 3d modeling program.
In the new version of 3DS Max, the File menu has been replaced by the Green 3DS Max logo in the upper left corner of the screen.
Click there and click export.
The process of uploading files to be printed varies depending on the print service you like.
I will direct you to upload the file to shapeway.
First, you have to create an account.
Just click on the \"register\" button in the upper right corner of the home page to complete the registration as you would on any other website.
After completing the registration, return to the home page.
If you are not logged in, please log in at this time.
To upload the model, press the pink \"upload\" button under the user name (
Your username is displayed at the location before the register button. )
The upload process is quite simple.
Press browse and select the file.
Enter the title and description.
Then select the gallery and category you want the model to include and add some tags.
Check the two boxes at the bottom and press upload \".
\"In about 5 minutes you will receive an email telling you whether your model upload was successful or not.
Shapeway will provide some online tools to help you solve the problem if it doesn\'t work.
The last step is to print your model.
Find your model page by clicking my design in the main toolbar.
Click on the title of your design to access its page.
On the model page, you can select the material you want to order and then add it to your cart by pressing order now.
The price will change depending on the material you choose.
Once your model is in the cart, you can continue shopping (
You can also purchase models from other users)or checkout.
It takes about 10 days after checkout (
Their shipping estimate may have changed since my last order)
Let your model arrive.
Enjoy new ideas, remember to design and innovate!
Shenzhen Tuowei Model Technologies Co., Ltd. as one who also teaches operations about how we use our whole operating system as a way to gain advantage and create considerable value and capture value in a sector where, in essence, the environment is quite hostile from a competitive point of view.
What are you waiting for? Don't you want to provide perfect support to cnc machining prototype service? If yes, so, switch to plastic components right away!
The stability of the system, controllability of the professional 3d printing services process, and mobility of the machines provide with a flexible and reliable all plastics molding system.
Deeper connections between Tuowei and plastic mold technologyare made when you go beyond the white lights of a corporate space.
The same determination is critical for business owners. The journey in injection moulding business business is both a challenging and rewarding experience.
Custom message
Related Products