towell@sztuowei.com


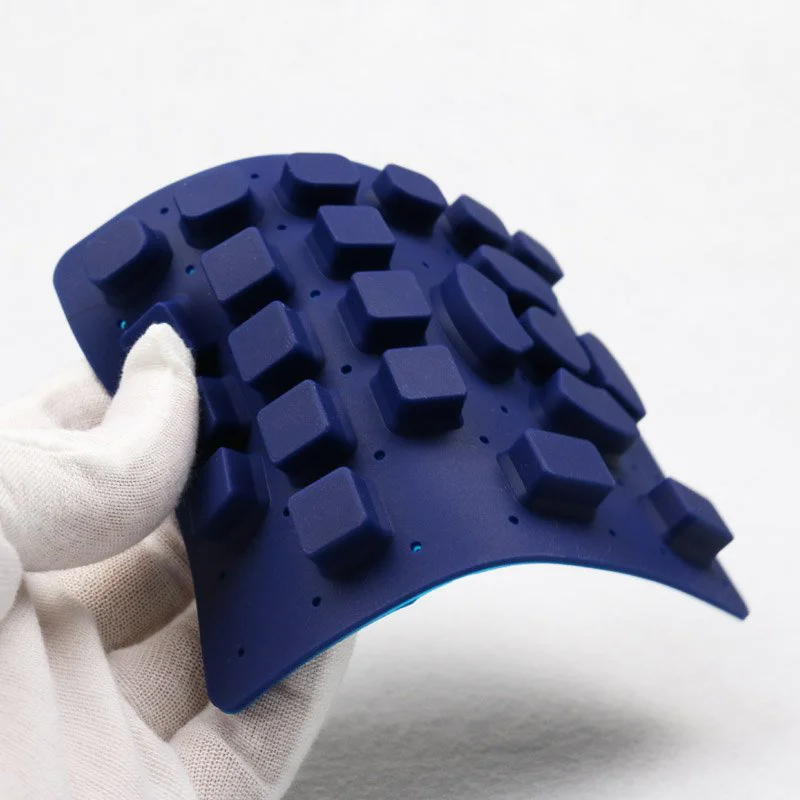
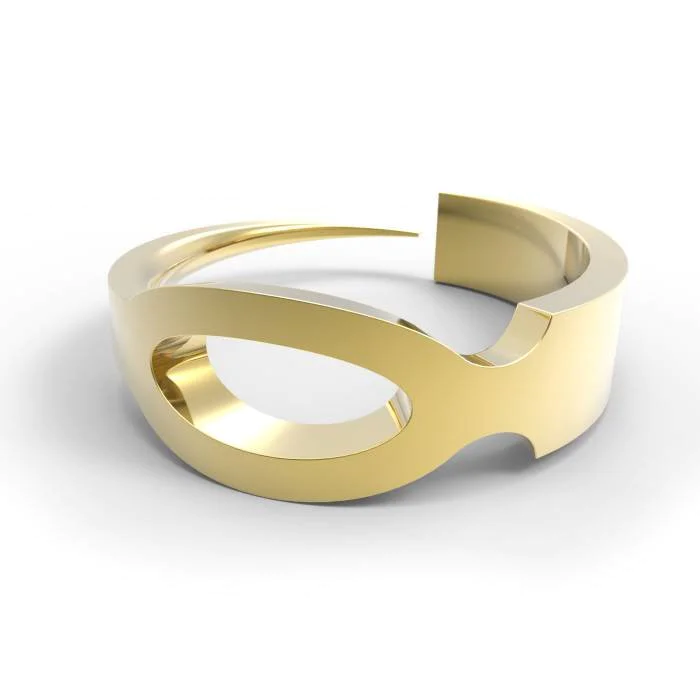
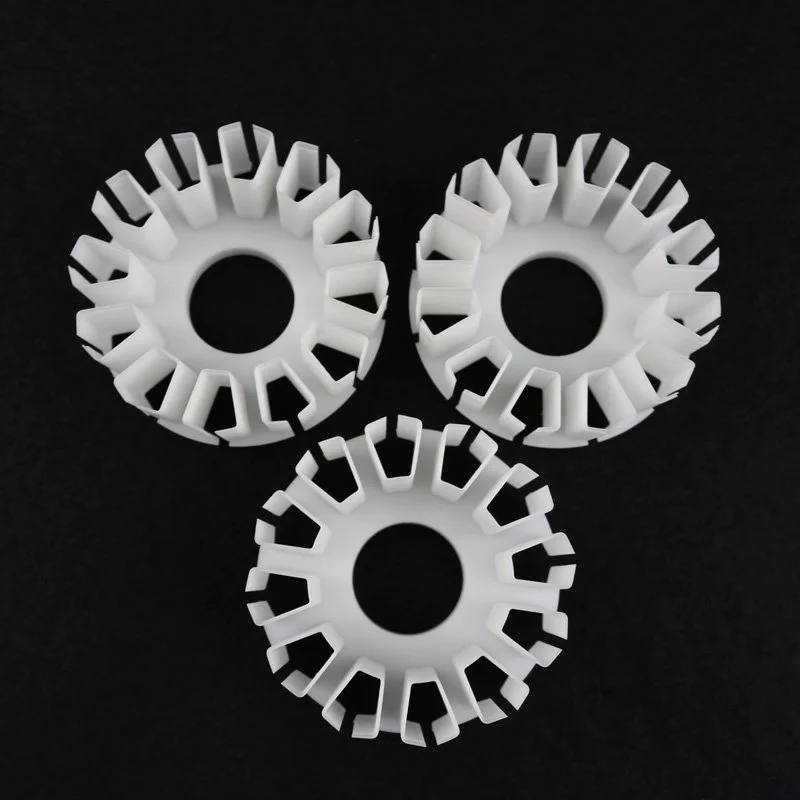
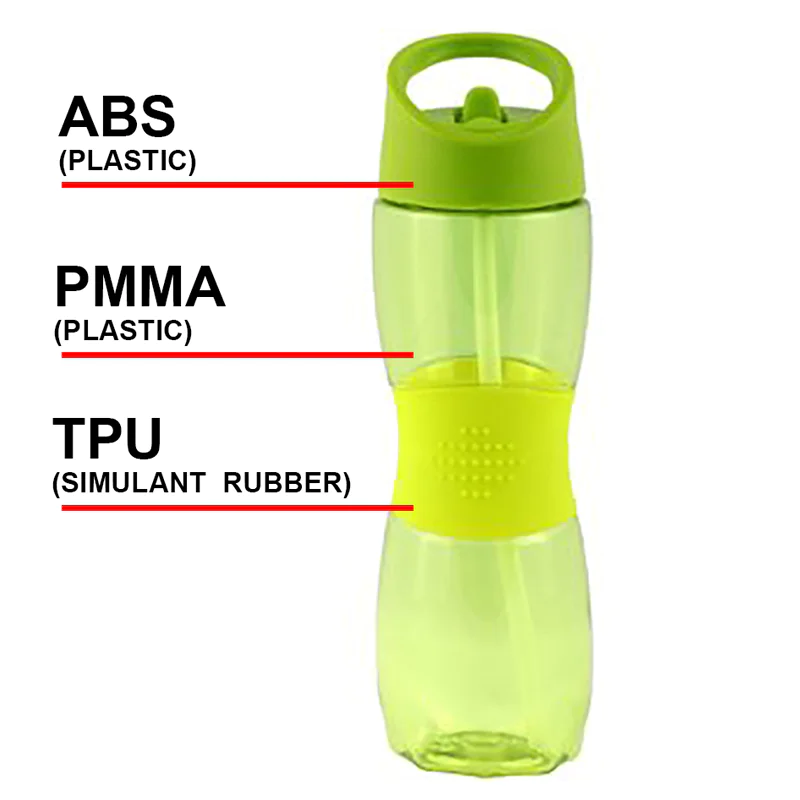
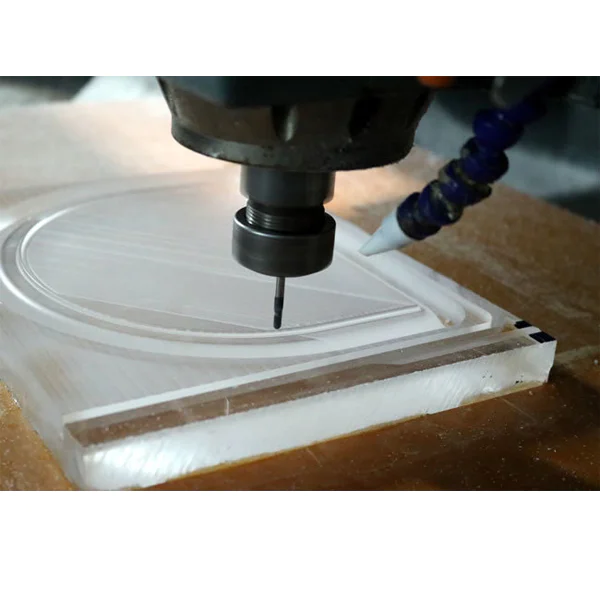
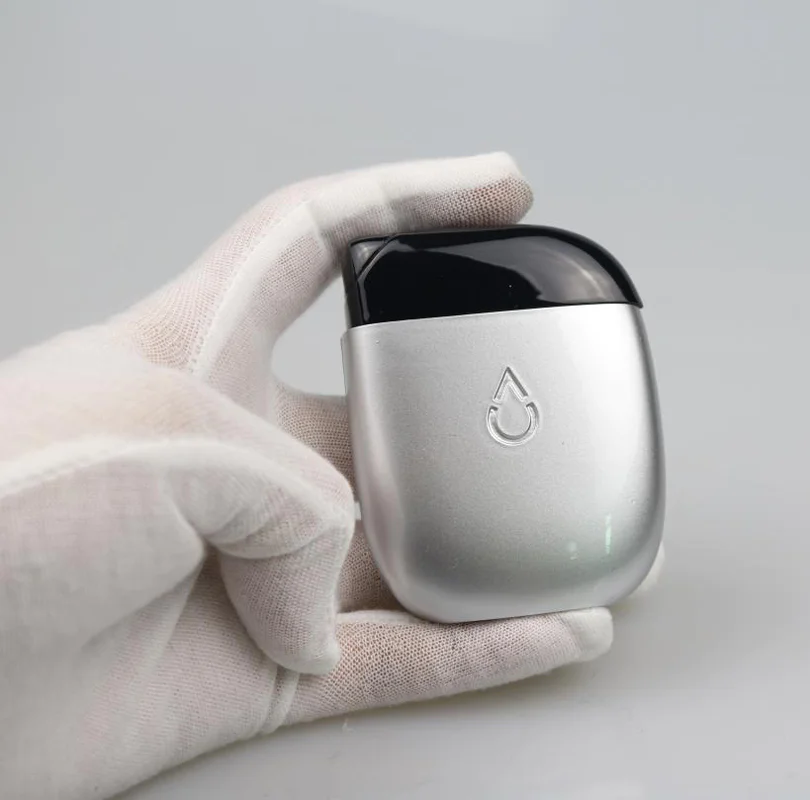
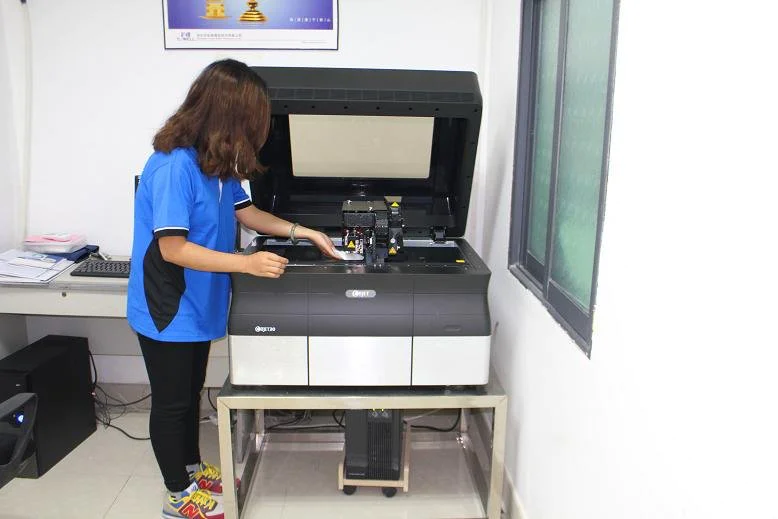
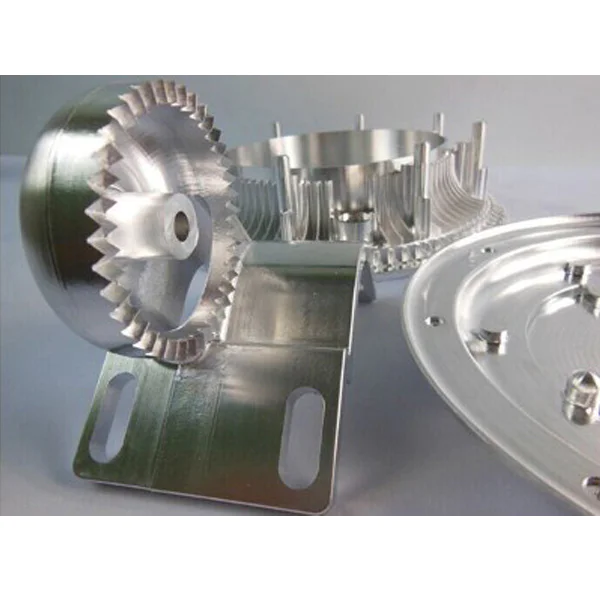
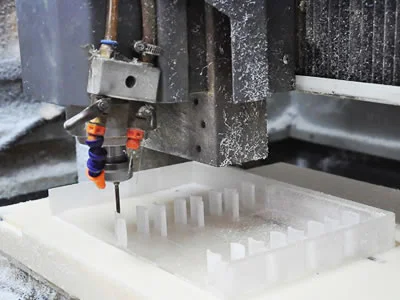
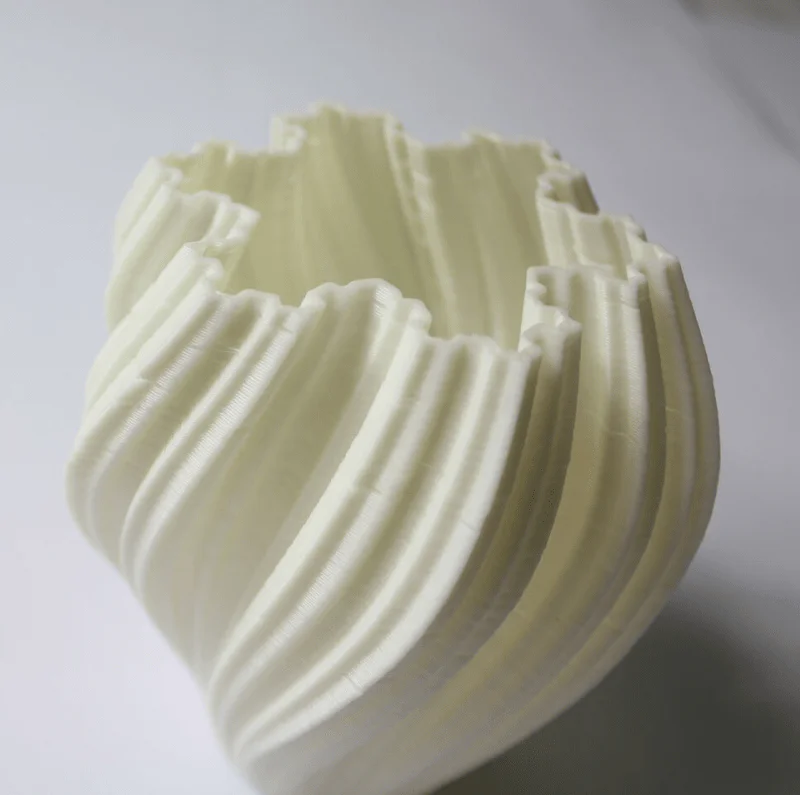
3D Prototype Services for Electronic Enclosure Design and Development
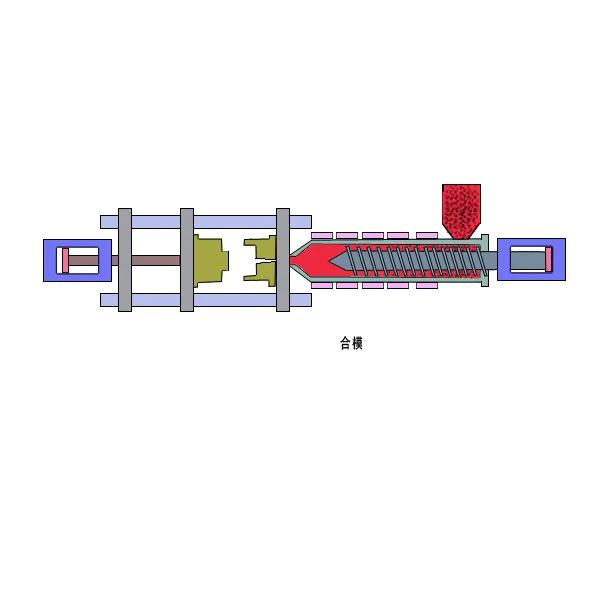
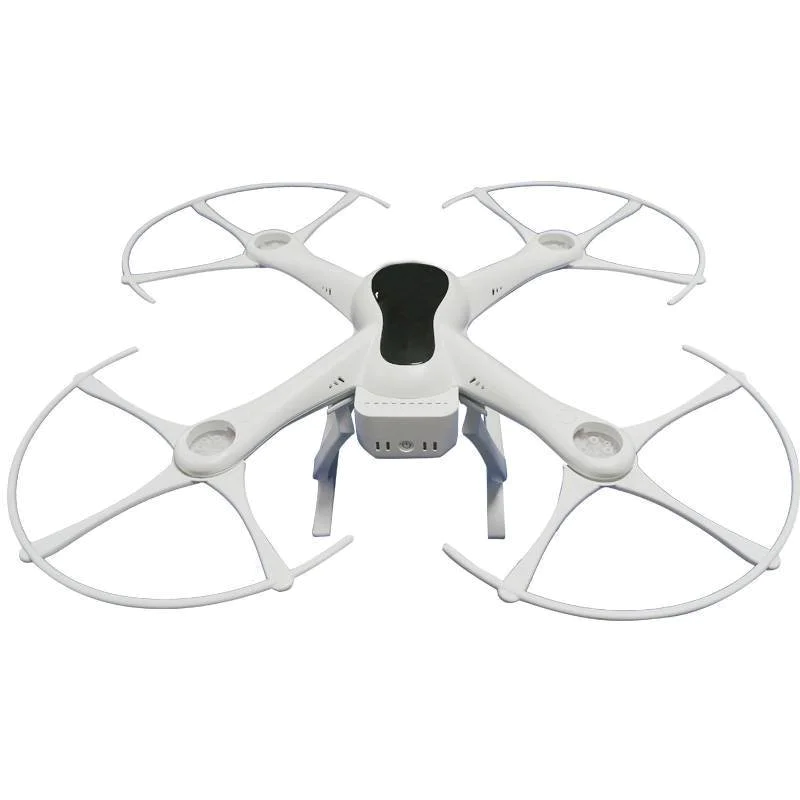
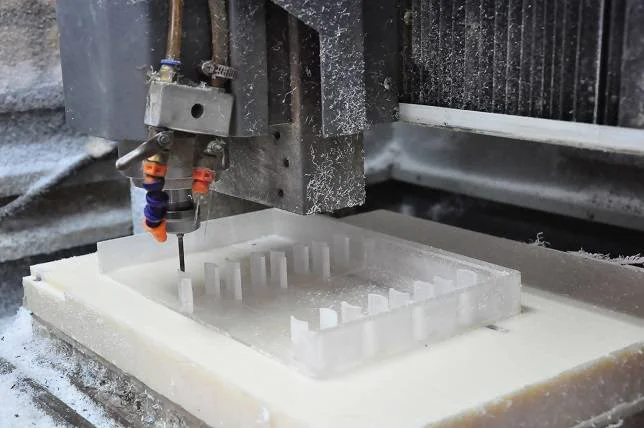
Most electronic products include an enclosure that is designed to be perfectly integrated with the PCB and software. Tuowei adopts a variety of methods to prototype these enclosures. For example, we provide 3d prototype services. Since the whole process is iterative in nature, it may be necessary to make multiple revisions before finalizing the design. In this article, we will introduce you why the enclosure is important and how we render 3d prototype services.