towell@sztuowei.com


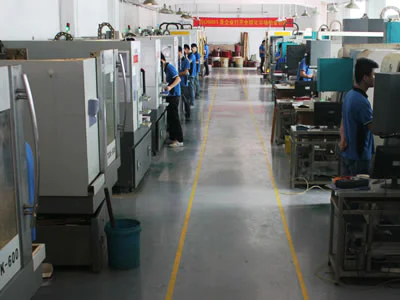
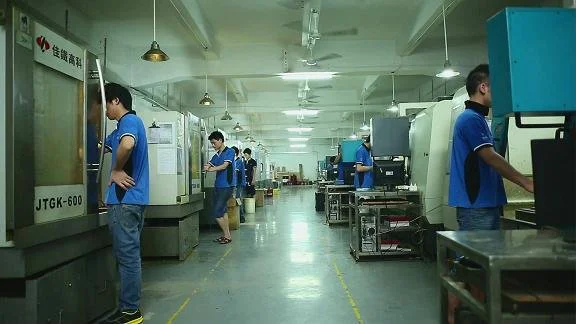
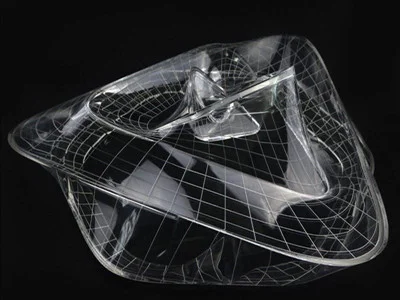
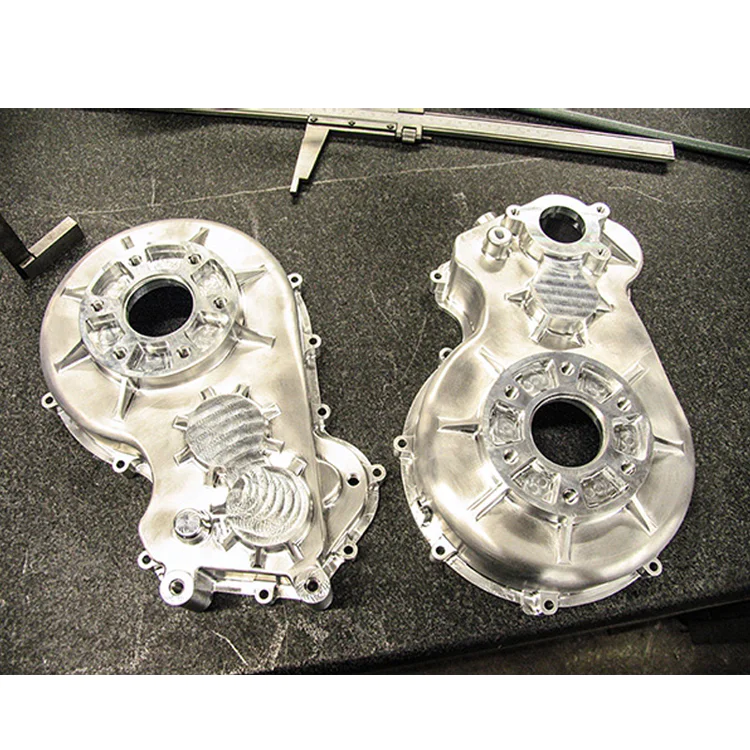
How to Ensure CNC Machining Accuracy
How to Correct the Projector Uniformity of the Ember Printer
by:Tuowei
2019-09-11
In the Ember printer, the 3D printing process starts with the light emitted by the anLED and then passes through a series of lenses before entering the DLP light engine.
When it comes back from DLP, it goes through more lenses before it finally reaches the resin.
The generated image is very uniform (
See image above for representation)
But there is room for improvement.
Since the Ember print file is just a bunch of images, it is very simple to correct these deviations.
The only tools we need are the decimeter and the processing.
Color sampling tools and Excel are also useful unless you prefer to do linear regression manually.
There is no point in the correction of fingerprint or resin application.
First make sure the windows on the printer are clean and then clean the glass windows on the resin tray (
Acetone is good for both).
It\'s better to start with a brand new tray.
Next, we need to figure out how the light intensity of the print area changes.
We can use a fixture with holes to measure the light intensity with a radiator to accurately locate the sensor.
However, resin can also be used as a sensor.
The thickness of the resin layer formed on the window is related to the dose, the thickness = a * ln (Dose/b)
Where a and B are specific parameters of a given resin (
See Jacobs, rapid prototyping and manufacturing-
Foundation of stereo printing, about 1992).
In this experiment, we wanted a resin with almost no UV blocker, so that the measurement was more sensitive to the dose deviation.
The good resin used will be the resin of Dreve SLE, DWS digital wax series or other weak attenuation UV rays.
Measuring a and B is currently an exercise left to the reader.
It may be tempting to assume that the thickness is proportional to the dose;
However, the result is not very good if you try with this data set.
The experiment itself is very simple.
Just remove the construction head and put a layer of resin on the window.
Expose the above image for a few seconds.
After washing the film with acetone and sucking it dry, it is fast (10 s or less)
Exposure in an inert environment makes the film less tacky and easier to measure.
Adjust the exposure time to make the film thickness 200 to 300 microns.
They will be hard to handle if they are too thin, and if they are too thick, the film will curl a lot, causing other deviations and noise.
Record the thickness of each full circle and note the corresponding numbers.
The calculation in the next table is based on 3 repeated measurements.
It may be possible to reduce usage, but the spreadsheet needs to be modified somewhere.
The next step is to figure out if a fix is needed.
In the excel sheet on the measurement tab, type all 75 measurements in the orange box.
The correct critical dose and penetration depth values are then added for the resin.
It is not too important that the critical dose is correct, but the penetration depth needs to be accurate.
Then, the variance analysis of the spread list (green cells)
Determine the significance of dose changes at 25 different locations.
If the p-value is between 10 and 0.
1 There is a lot of noise in the measurement, and the change between all measurements is similar to the change between each position.
The projector is already very uniform, or the resin is not particularly sensitive, or you can\'t use the splitter consistently.
If the p value is less than 0.
01, it is definitely worth doing it through the rest of the instructions, because there are a lot of changes in statistics.
If between 0. 1 and 0.
01 it is not so clear.
Excel has a very convenient linear regression tool built into it.
Copy from the purple box on the measurement tab and paste the calculated dose onto the regression tab.
I play with a few different models.
The residual value clearly indicates that a second order term is required.
I\'m not sure if this model form is generic for the Ember printer, so it might be worth playing here for a while.
The next step is to modify the slice image using the processing based on the regression model.
If your model uses the same form, simply cut and exceed the coefficient (
Tab blue box [regression).
If you add other terms to the model, the code will need some minor modifications.
The corrected image now shows a slight gradient of light intensity on the image.
Once you have the corrected slice, it is worth printing the test print and measuring the thickness.
If the model is valid, the ANOVA test will show no significant difference between the location and the rootmean-
The square error of the new print will be lower than the initial test print.
In this case, the RMS error is reduced by 60% s.
The same processing code used to generate this slice can be easily modified to mask the ember print file, simply copy and paste the image stack into the image stack file and change the number of slices in the script.
Custom message
Related Products